A repeated office mark becomes unreliable when the stamp is too large, the artwork is too fine, the paper is unsuitable, or the operator changes pressure from one document to the next. You will be able to choose the right stamp format, test a customised design, apply it consistently, and diagnose weak or blurred impressions before they enter a filing or dispatch process.
Key takeaways
- Use pre-ink stamps for fixed messages and dater or numbering stamps for changing values.
- Keep text and borders thick enough to remain legible at the final imprint size.
- Stamp on a flat surface with even pressure and lift straight up.
- Clean the stamp face when impressions become faint, smeared, or uneven.
Choose the Right Stamp for the Mark You Repeat
Choose by whether the message changes, how fast you stamp, and whether you need a loose pad. A fixed message suits a pre-ink stamp; a changing value needs a dater stamp or numbering mechanism.
| Option | Change frequency | Impression and volume | Best message |
|---|---|---|---|
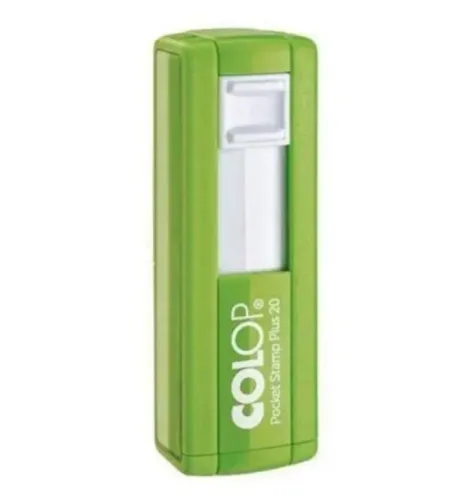
| Pre-ink stamp | Fixed wording | Clean, consistent marks for regular office volume; no loose pad | PAID, APPROVED, RECEIVED, department names, addresses, and routing instructions |
| Self-inking stamp | Fixed wording | Fast repetitive placement; returns to its ink source after each impression | High-volume status or department marks |
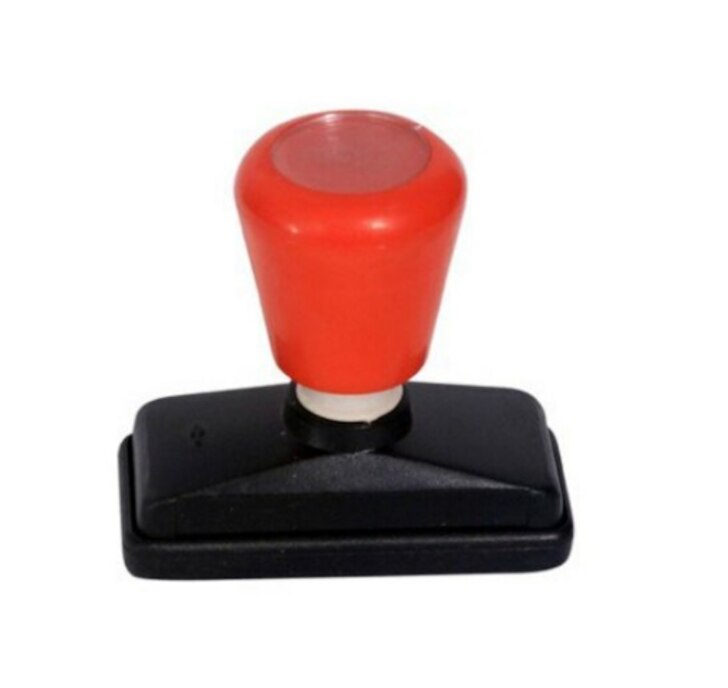
| Traditional rubber stamp | Fixed or frequently changed wording | Separate pad supports colour, ink-formula, and pad changes; useful on irregular surfaces | Flexible marks, special inks, and occasional office messages |
| Dater or numbering stamp | Changes on every document | Built for sequential or date-based control | Received dates, batch numbers, and serial values |
Select a pre-ink stamp when you want a compact mark without handling a separate pad. Keep its wording short enough to read at actual size; a long address, multi-line approval instruction, or detailed logo needs a larger die or another marking method.
Use a self-inking stamp when document volume makes rapid placement the priority. Choose a traditional rubber stamp when you need to change colours, use a substrate-specific ink, stamp uneven surfaces, or replace the pad independently.
Never use a fixed pre-inked date or serial message for changing records. It becomes obsolete with the next date or number. A replaceable-band dater stamp, numbering stamp, or digital marker avoids that failure.
Size the Artwork for Legible Repeated Impressions
Choose the smallest practical stamp size that surrounds the complete message without compressing it. Check the smallest font size at its final physical size, not on a computer screen: ink spreading through a porous die can close the counters in a, e, and o, causing filled text, fading, or a heavy rectangular shadow.
- Remove fine lettering, narrow rules, tight spacing, and tiny enclosed areas from the artwork.
- Leave visible space between the border and the text so excess ink cannot merge the outline with the message.
- Reduce logo detail to bold shapes with open gaps. Thin hairlines and intricate marks rarely survive repeated impressions.
- Choose black or blue as the ink colour for routine documents. Reserve red for marks needing immediate separation, such as PAID or URGENT.
- Check the date format before production, including the order of day, month, and year.
- Print several impressions on the paper your office uses: invoice stock, recycled copier paper, and forms with preprinted boxes. Inspect the smallest text, logo lines, border spacing, and alignment against each form.
Ask Sun Graphics for a physical-size proof when a custom design contains small type or a logo; approve the actual impression, not the digital artwork alone. A proof on ordinary copier paper cannot predict how coated, recycled, or heavily sized stock will absorb ink or blur edges.
Use a Repeatable Stamping Method at the Desk
The same clean mark from the first document to the last comes from controlling the stamp, paper, and movement—not from pressing harder. Store the pre-inked stamp upright or in the manufacturer’s recommended position, with the die face protected from dust and contact with loose paper.
- Set a firm surface beside the filing, dispatch, or document routing area. Keep each document flat; never stamp across a folded crease, paper-clip mark, torn edge, or uneven stack.
- Place one document squarely on the surface. Align the stamp with the intended box or margin. Use a physical guide or fixed desk position when the mark must land inside a form box, label, or routing field.
- Apply even pressure across the complete face, then use a vertical lift. Do not slide or rock the stamp; lateral movement creates doubled outlines and blurred fine text.
- Keep the stamp and fresh impression away from wet toner, fresh ink, correction fluid, and adhesive until the surface has dried. Inspect the mark before filing, scanning, or sending the document.
- Separate marked documents from unmarked documents with a tray, divider, or clearly labelled pile.
If the stamp has sat unused, make several test impressions on the same paper before restarting the office marking workflow. A consistent hand cannot compensate for a stamp that shifts several millimetres between impressions, and repeated hard pressing will not fix a drying or contaminated die.
Recognise and Correct a Poor Impression
A pale centre means contact is uneven, the die face is drying, or the internal reservoir is nearly empty. Do not press harder first; repeated force will not restore depleted ink and can distort the impression.
1. Make several test impressions on the actual document stock after a long idle period. Use a firm, flat surface and do not add unapproved refill. This restart test separates surface drying from an empty reservoir or damaged die.
2. Check for blurred text or filled letter counters. Excess pressure, over-inked pores, overly detailed artwork, and ink spreading into absorbent paper can close small spaces in letters such as a, e, and o.
3. Inspect the edges. Uneven corners usually mean the stamp face or document is not flat. Doubled outlines show that the stamp rocked or slid during lifting, so place it squarely and lift vertically.
4. Look for ink pooling around the border or a rectangular shadow. Overloading, contamination, excessive dwell time, pressure on the stamp body, or unsuitable glossy or absorbent paper can cause these marks.
5. Do not pour ordinary stamp-pad ink into a pre-inked stamp. The refill must match the porous die, seals, body materials, solvent, viscosity, and drying chemistry; the wrong fluid can swell, clog, flood, or dry the die.
6. Replace or service the stamp if the defect continues on suitable paper across a flat surface. Stop using it when pale edges persist.
Match the Stamp to the Document Control Task
Use a fixed pre-inked mark when the message stays unchanged: a received-date mark with the date printed separately, a paid mark, an approved mark, a department identifier, an address block, or an invoice processing mark. Internal-routing instructions such as ACCOUNTS, LEGAL, and FILE also suit this format.
1. Keep changing values separate. Use a replaceable-band dater for changing dates, a numbering stamp for batch or serial values, and a digital printer when each value changes. A fixed die creates obsolete records.
2. Review the mark at the start of each shift when several operators use it. Confirm that the wording is current, the ink colour still distinguishes the status, and the impression does not transfer to the next sheet.
3. Match the ink to the surface. Water-based office ink suits absorbent paper; glossy, coated, plastic, and metal surfaces need ink formulated for that substrate and its drying conditions. A permanent-looking mark is not automatically archival: permanence depends on the ink-paper combination and required exposure conditions.
4. Add a guide, registration jig, or fixed stamping station for invoices and labels that require alignment. Hand placement alone creates position variation.
Place the document on a firm, flat surface, apply even pressure, lift vertically, and inspect the impression before filing or sending it. These checks make the stamp a repeatable invoice processing mark rather than a convenience that introduces avoidable errors.
Frequently asked questions
When should you choose a pre-ink stamp instead of a dater or numbering stamp?
Choose a pre-ink stamp for a fixed message. Use a dater stamp or numbering mechanism when the value changes.
How can you size artwork for a legible repeated impression?
Keep lettering, borders, and small details large and bold enough to remain clear at the final stamp size.
What stamping method produces consistent desk impressions?
Place the document on a flat, firm surface, align the stamp, apply even pressure, and lift it straight up.
How do you correct a poor stamp impression?
Check for an uneven surface, excess pressure, dirt on the stamp face, or low ink, then correct the cause and test again.