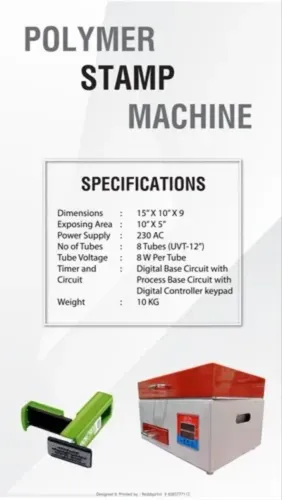

A usable polymer stamp depends on more than exposing artwork under ultraviolet light: film density, resin thickness, contact pressure, washout, curing, and mounting all affect the impression. By the end, you will be able to map the full production workflow, diagnose common defects, choose suitable applications, and compare machine features without mistaking a timer or tube count for finished output.
Key takeaways
- Use high-contrast artwork with solid black characters and adequate spacing.
- Control UV exposure to preserve fine detail without leaving weak raised areas.
- Wash out unexposed polymer evenly, then post-cure the finished relief plate.
- Choose machine capacity and automation based on stamp volume and plate size.
What a polymer stamp is and where it fits
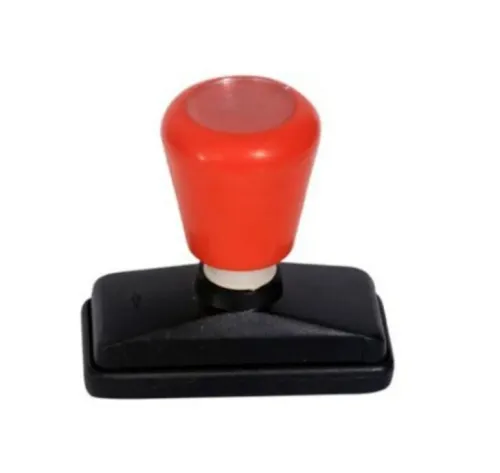
A polymer stamp is a UV-cured relief plate made from liquid or sheet photopolymer. UV-exposed areas harden; unexposed resin is washed away, leaving raised characters and graphics that transfer ink through a separate pad or roller.
| Method | How the plate is made | Best fit |
|---|---|---|
| Photopolymer stamp | UV hardens selected areas; uncured resin is washed out | Short-run seals, logos, address stamps, date or wording stamps, craft designs, and repeated industrial clichés |
| Vulcanized rubber stamp | Heat and pressure cure rubber into a durable relief | General-purpose stamps where rubber’s resilience and ink range suit the job |
| Laser-engraved rubber stamp production | A laser removes material directly from rubber | Detailed rubber plates without film-and-washout processing |
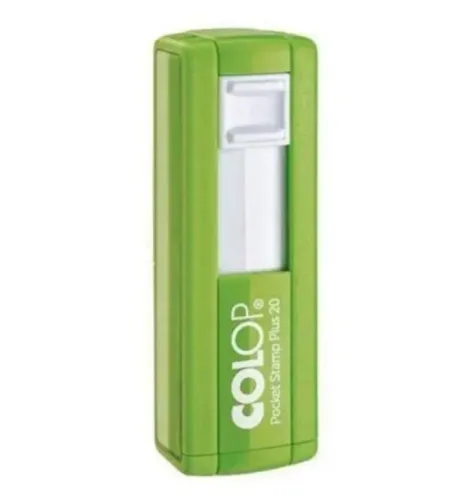
| Pre-ink stamp | Ink is stored inside a porous plate and released through the face | Self-contained impressions without a separate ink pad |
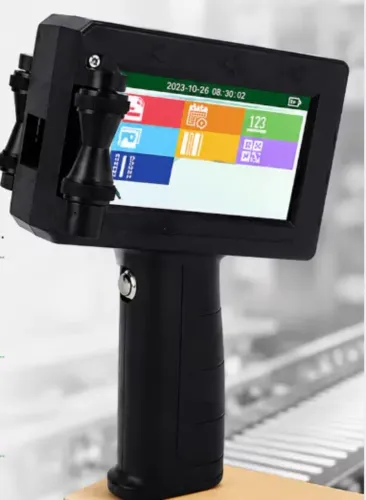
Photopolymer is economical when the same message repeats, but it is not a variable-data coding system. Each new serial number, barcode, or production date needs a new plate or digital marking equipment such as inkjet, laser, or thermal transfer.
Match the resin to the ink: ordinary water-based stamp ink is not interchangeable with solvent, oil-based, UV-curable, fast-drying, or aggressive specialty inks. Check the resin supplier’s chemical-resistance data, then confirm it with an immersion or repeated-impression test.
From artwork to a finished relief plate
A usable relief plate requires film output and washout, not exposure alone. The polymer stamp production process turns artwork into a cured, mounted plate through these steps:
1. Prepare solid black artwork, check positive or negative polarity, mirror the design when the plate will mount face down, and add registration marks.
2. Output the design on transparent film with a dense, opaque image. Inspect the film for pinholes, dust, wrinkles, and uneven toner or ink; any defect can become a mark or weak spot.
3. Set the required thickness, place liquid photopolymer on its carrier or position sheet photopolymer on the carrier, then add the cover film. Press the negative into close, even contact and remove every air bubble. Keep the exposure glass, film, and polymer clean.
4. Expose through the transparent carrier with the matched near-UV source. Use the resin supplier’s time and wavelength guidance rather than copying another machine’s setting.
5. Wash out uncured resin with the approved water or cleaning method. Control temperature, pressure, and duration: washout must remove uncured material without eroding narrow strokes. Dry the relief completely with suitable drying equipment.
6. Apply post-exposure and final curing. Drying removes trapped wash water, while post-cure establishes final hardness and resistance to compression. Trim the plate, apply adhesive, and mount it to a holder or backing.
7. Test the finished plate with the intended ink pad or roller and actual substrate. Keep transparent film, resin, wash solution, drying equipment, adhesive, and mounting material available for repeatable production.
Prepare artwork and UV exposure for readable detail
Readable fine text starts with the film, not the monitor preview. Use a high-density black film image with opaque coverage; a display that appears dark can still transmit enough UV to soften edges and close detail.
1. Prepare solid artwork and ask the shop to verify minimum line width and character height against the resin supplier’s plate specification. Do not accept small type because it looks sharp on screen.
2. Protect fine text and open counters. The enclosed spaces in a, e, and R need enough opening to survive lateral cure, washout, and undercutting. Test a pattern containing thin strokes, small counters, and solid blocks.
3. Keep halftones only when the resin and process support them. Otherwise convert them to solid artwork or a controlled dot pattern; unsupported grey values produce uneven relief and muddy impressions.
4. Confirm positive or negative polarity with a small test exposure. A film intended for conventional relief can otherwise produce an inverted or recessed result.
5. Match the resin to the lamp spectrum, commonly near 365–405 nm. Build an exposure ladder rather than copying exposure time from another machine, using the actual film, plate thickness, lamp age, glass cleanliness, and room temperature.
6. Reject settings that create soft, tacky relief or weak shoulders: these indicate underexposure. Overexposure cures sideways beneath opaque areas, closes counters, merges characters, and reduces durability.
7. Record the winning setting with the resin lot, thickness, lamp, and ambient conditions. Repeat the test after changing the lamp or material, because timer values alone do not prove stable UV exposure for polymer stamps.
Control contact, washout, curing, and quality defects
Blurred edges usually begin with poor negative contact, not low printer resolution. Keep the negative flat against the polymer: dust, wrinkles, air bubbles and film contact gaps let UV spread beneath opaque artwork, rounding edges, plugging counters, and producing other polymer stamp defects.
1. Use the same resin quantity and plate thickness for every job. Uneven thickness changes relief depth, impression force, and curing results.
2. Wash out with the resin supplier’s approved water temperature, brush or spray pressure, and duration. Hot water, aggressive brushing, or prolonged washing undercuts narrow strokes; insufficient washing leaves uncured monomer that causes odor, tackiness, ink contamination, and swelling.
3. Dry the plate until no wash water remains in the relief. Entrained water interferes with hardness, so complete the washout and post-exposure sequence before trimming or mounting.
4. Follow the supplier’s procedure for polymer plate curing, including post-exposure and final cure. A plate that feels hard after exposure can still soften under compression or solvent ink if curing is incomplete.
5. Choose relief depth for the job. Deeper relief withstands uneven surfaces and repeated impressions but needs more washout and can destabilize small type; shallow relief preserves detail but bottoms out under heavy pressure.
Test the cured plate on the actual paper, card, label, or product surface. Check solid fill, fine text, open counters, edge sharpness, impression depth, and resistance to the chosen ink. Handle uncured resin with the supplier’s safety data, ventilation, skin protection, and UV shielding in place.
Choose machine features by workload and application
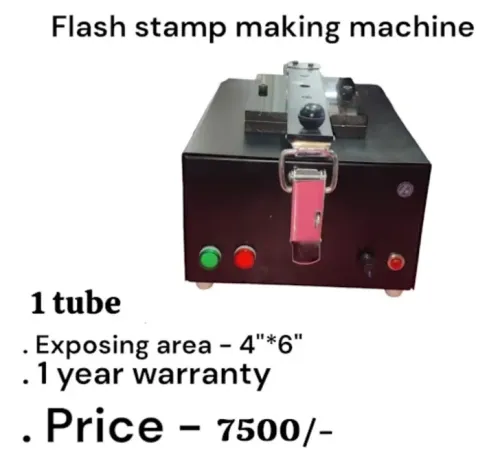
Match the machine to the plate you actually produce, not to its tube count. One-tube and two-tube designs differ in exposure arrangement and operator steps, while semi-automatic and automatic models differ in loading, timing, handling, and repeatability. Tube count alone proves neither cycle time, plate capacity, exposure uniformity, nor finished quality.
Exposing area and throughput matter only against your largest artwork and daily volume; a stated 4 × 6 inch area cannot be generalized to another model. Polymer stamp machine applications include repeated wording, symbols, logos, office seals, and short-run relief plates.
Choose digital industrial coding when every item needs unique data, or when speed, dust, heat, curved surfaces, or chemical exposure exceed plate limits. Sun Graphics is one supplier in Delhi to consult, but compare measured specifications rather than model names.
| Configuration | Operator consequence | Best fit |
|---|---|---|
| One tube | One exposure arrangement; fewer loading and switching steps | Low-volume work with consistent plate sizes |
| Two tubes | Separate or combined exposure positions; ask how loading and timing change | Higher variety or volume, only when tests show an advantage |
| Semi-automatic | You handle some placement, timing, washing, or transfer | Controlled workloads where lower complexity matters |
| Automatic | More programmed loading, timing, handling, and repeatability | Repeated production where labour and variation cost more |
Ask for measured cycle time, usable exposure area, compatible resin thicknesses, lamp wavelength, replacement-lamp cost, washout requirements, power draw, and test-pattern calibration support. A UPS backup protects an interrupted exposure and limits voltage-failure downtime; it does not correct resin choice, lamp output, or exposure settings.
Budget for film, resin, wash solution, adhesive, ink, lamp replacement, maintenance, and rejected plates.
Related products
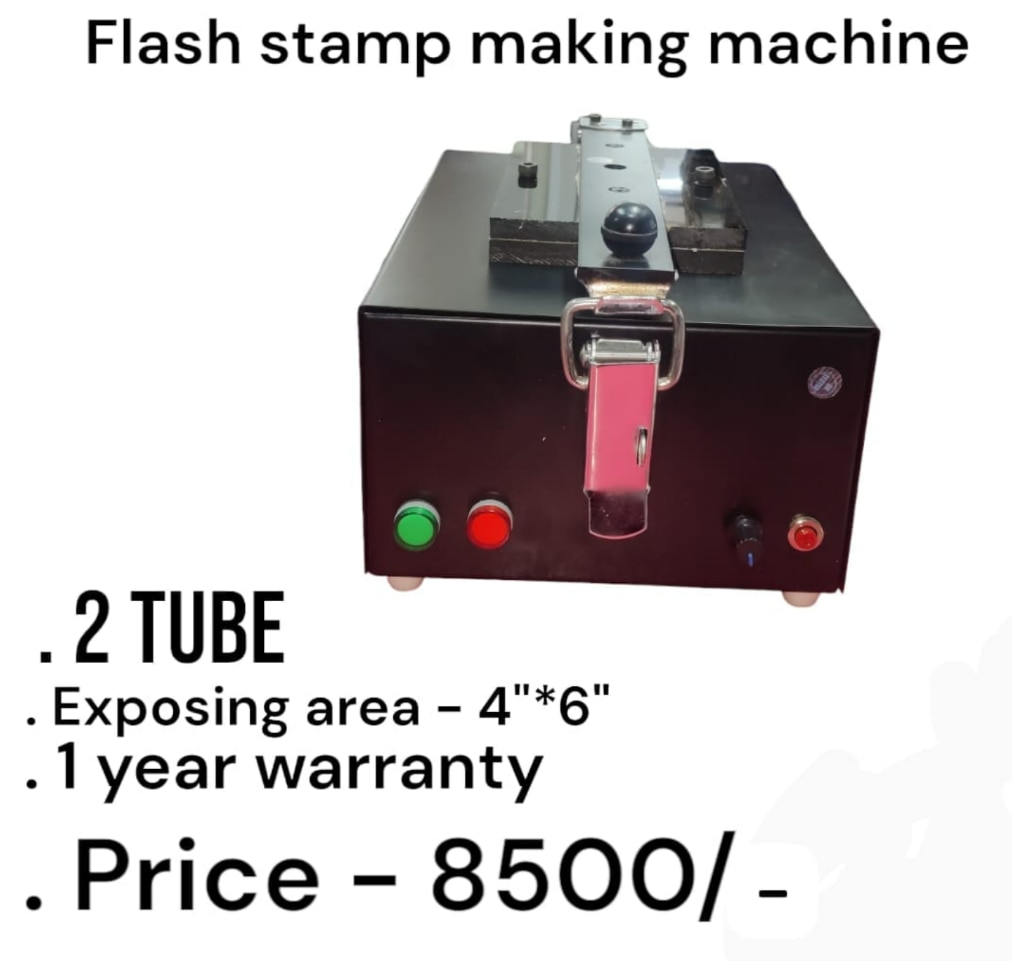 | Flash Stamp Making Machine ₹8500 2 Tube Model The 2 Tube Flash Stamp Making Machine is a reliable and efficient solution for manufacturing high-quality flash stamps quickly and... View product → |
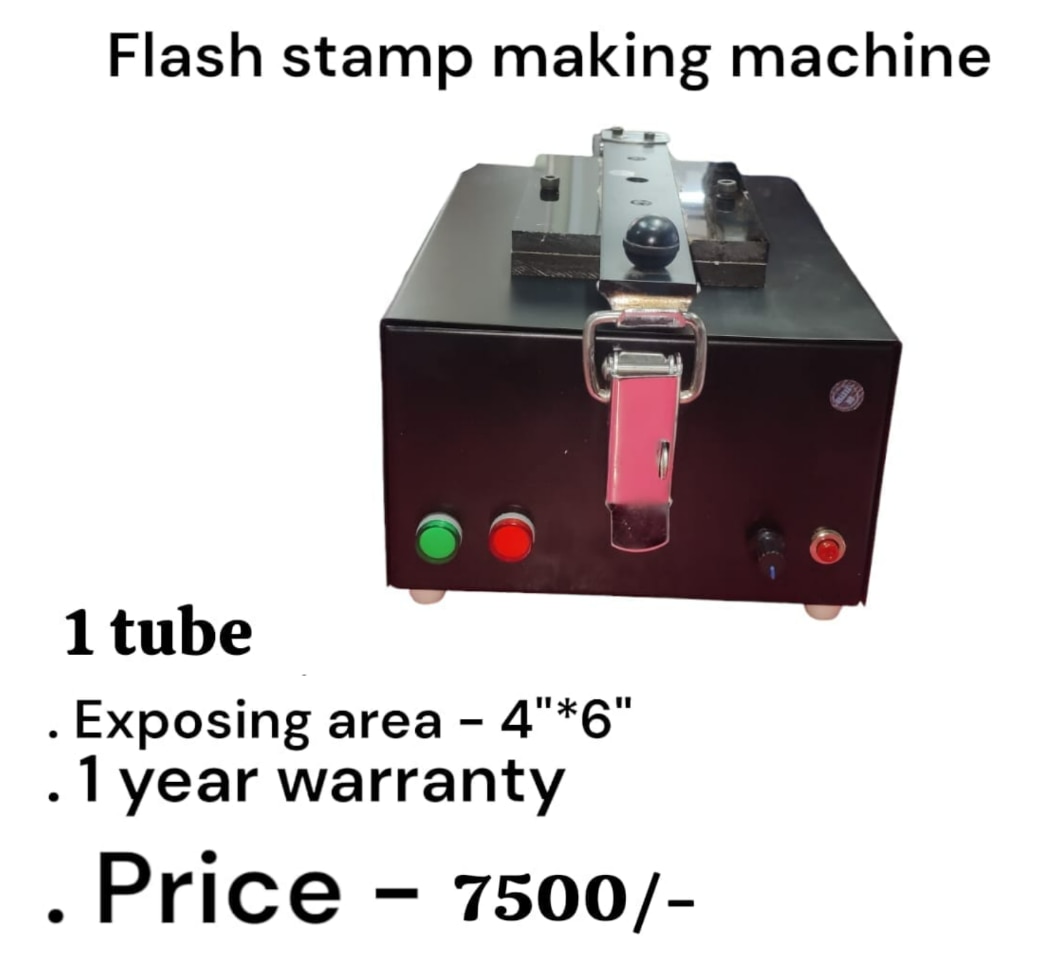 | Flash Stamp Making Machine Flash Stamp Making Machine 1 Tube Model ₹7500 Flash Stamp Making Machine (1 Tube) – Product Description Flash Stamp Making Machine – 1 Tube Model The 1 Tube Flash Stamp Making Machine is an... View product → |
Frequently asked questions
What is a polymer stamp, and where is it used?
A polymer stamp is a UV-cured relief plate made from liquid or sheet photopolymer. Raised characters transfer ink through a separate pad or roller for office, packaging, coding, branding, and marking applications.
How does a polymer stamp machine produce a finished relief plate?
The process converts prepared artwork into a negative, exposes the photopolymer to UV light, washes away unexposed material, and post-cures the raised plate before mounting it.
How should artwork and UV exposure be prepared for readable detail?
Use high-contrast artwork with solid characters, suitable line thickness, and enough spacing. Set exposure to harden the image without closing counters, filling gaps, or leaving weak relief.
What causes defects during polymer stamp production?
Uneven contact, incorrect exposure, incomplete washout, over-washing, trapped air, contamination, and insufficient curing can cause blurred edges, blocked details, soft relief, pinholes, or uneven plates.
Which polymer stamp machine features matter for different workloads?
Compare plate size, exposure control, washout method, curing capability, cycle time, repeatability, and operator effort against your production volume and stamp applications.
Related products
 | Rubber Stamp Making Machin ₹7800 inimum Order Quantity: 1 Piece Product Brochure Machine Type Rubber Stamping Machine Automation Grade Semi-Automatic Usage/Application STAMP MAKING... View product → |
 | Flash Stamp Making Machine Automatic (2 in 1 Model) ₹13500 Flash Stamp Making Machine Automatic (2 in 1 Model) – Heavy Duty Automatic Flash Stamp Making Machine – 2 in 1 Model The Automatic Flash Stamp Making... View product → |
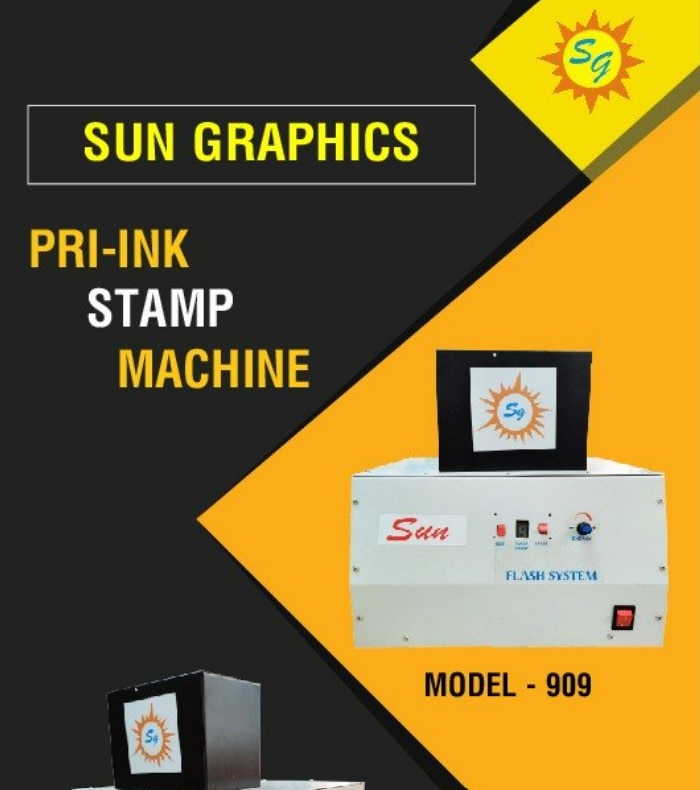 | Pre Ink Stamp Machine ₹13500 Sun Graphics is a supplier and dealer of Pre Ink Stamp Machines and flash stamp making systems in Delhi. View product → |
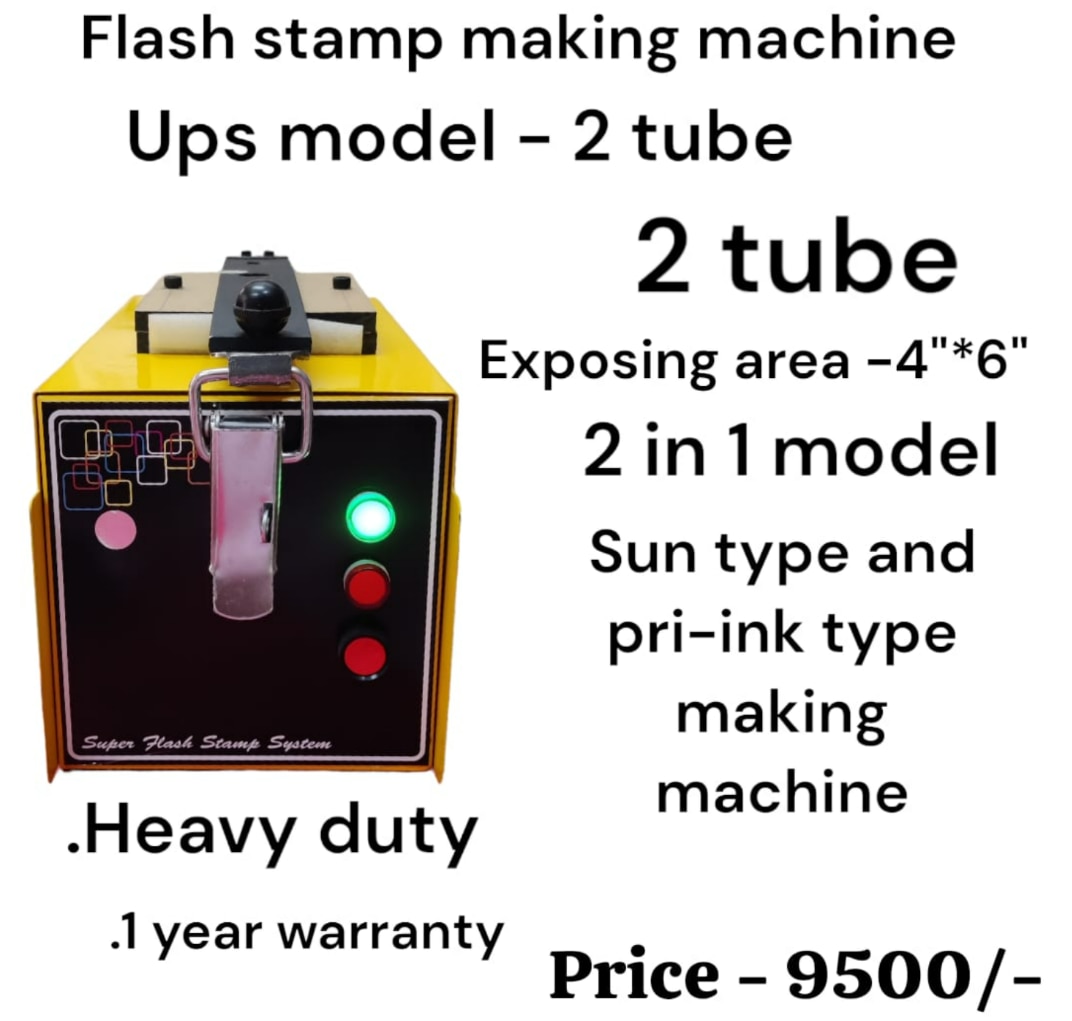 | Flash Stamp Making Machine Flash Stamp Making Machine (UPS Model – 2 Tube) ₹9500 Flash Stamp Making Machine (UPS Model – 2 Tube) Specification Details Product Name Flash Stamp Making Machine Model UPS Model – 2 Tube Type 2-in-1... View product → |