A short exposure cycle does not tell you how many saleable stamps you will produce, and a sharp digital file does not guarantee a clean impression. You will be able to calculate usable output, identify the variables behind exposure and curing defects, and set a practical quality test before choosing a machine.
Key takeaways
- Measure saleable stamps per hour, not the displayed cycle time.
- Test exposure settings against blurred edges, weak text, and uneven impressions.
- Match heat, exposure, and wash settings to your plate material.
- Run a sustained workflow test before approving the supplier.
Measure complete throughput, not the advertised cycle time
The useful figure is not the machine’s timer; it is saleable stamps per hour. Cycle time versus throughput matters because a 90-second exposure can sit behind 12 minutes of artwork setup, film alignment, washing, drying, mounting, and inspection.
Ask the supplier to define rubber stamp machine production speed as a complete workflow, not an isolated exposure or engraving step.
Time every stage from approved artwork to an accepted finished stamp:
- Artwork preparation, film or negative alignment, and machine setup
- Exposure or engraving, including exposure time per batch
- Washing or developing, drying, curing, cutting, and mounting
- Cleaning, changeovers, artwork corrections, operator breaks, and quality inspection
Calculate usable hourly output with this formula:
Saleable stamps per hour = available production minutes ÷ complete minutes per batch × stamps per batch × first-pass yield.
Available production minutes equals 60 minus planned setup, cleaning, changeover, and break time. First-pass yield is the proportion accepted without rework or rejection. For example, 42 available minutes, a 7-minute complete batch, 20 stamps per batch, and 90% yield produce 108 saleable stamps per hour.
Run the calculation across several short, mixed jobs. A single large batch hides registration, mounting, and cleaning delays that determine real output. Record the first hour and sustained hours separately; heat recovery and operator fatigue can reduce output after the machine warms up.
Check the exposure system against the defects you need to prevent
Choose the exposure system by the defect it prevents, not by its timer. UV exposure dose equals irradiance multiplied by time, so lamp age, reflector condition, plate distance, film density, temperature, and power-supply variation can change relief even when the programmed time is unchanged.
| Variable | What it controls | Failure when wrong |
|---|---|---|
| Back exposure | Floor thickness, relief height, and shoulder support | Too little leaves weak characters; too much reduces usable relief |
| Main exposure | Fine lines, counters, and image definition | Too much closes gaps and counters; too little leaves shoulders that break during washing |
| Washout, drying, and post-exposure | Clean floors, dimensional stability, and final hardness | Incomplete washing bridges ink between letters; excess drying or curing can distort or embrittle the plate |
| Plate geometry | Relief width, shoulder profile, and durability | Low relief causes ink bridging; tall, narrow relief chips, bends, or collapses |
Judge photopolymer stamp plate quality by relief geometry, not nominal resolution. Match the exposure recipe to polymer hardness, plate thickness, image size, and intended ink; a high-resolution file cannot reopen a counter that exposure has closed.
Run impression samples with the actual ink, paper, stamp pad or self-inking mechanism, and mounting pressure. Include the smallest text, open counters, fine lines, large solid areas, and long straight edges. Inspect for filled counters, feathering, skips, uneven coverage, and broken shoulders.
Record the irradiance and delivered UV exposure dose, rather than accepting a timer setting as proof of repeatability.
Match machine settings to the plate material and production method
A speed comparison is valid only after each material has a qualified recipe. Test the exact plate thickness and batch specification, then record the settings that deliver readable type, open counters, clean edges, correct relief, and acceptable odor or debris.
1. Rubber: Treat the compound as a production variable, not a consumable. For laser engraved rubber, record laser power and speed, focus, pulse frequency or PPI, scan direction, and pass count. A higher DPI setting can close counters, char edges, add heat, and increase cycle time.
2. Photopolymer: Compare delivered UV dose, not timer values. Dose is approximately irradiance multiplied by exposure time, so check lamp age, reflector condition, plate distance, film density, plate temperature, and power-supply stability. Confirm relief depth after exposure, washing, drying, and curing.
3. Heat-press production: On a vulcanizing machine, measure platen temperature uniformity and parallelism at several points. A displayed temperature can hide a cold corner or overheated centre, causing uneven cure, hardness, adhesion, or relief depth across a large plate.
4. Flatness and registration: Test warped sheets, clamping or vacuum consistency, plate thickness variation, usable bed area, and repeatability. Confirm that cutting and engraving or exposure share the same coordinate system; otherwise margins skew and mounting errors consume finishing time.
5. Run sustained cycles after qualification. Include setup, cooling, cleaning, and thermal recovery, then compare saleable stamps per hour rather than the first cold-machine cycle. Reject any setting that gains speed by increasing rework or unreadable impressions.
Test artwork, registration, washing, and finishing as one workflow
A quick exposure cycle still produces unusable stamps if artwork closes fine detail or finishing changes dimensions. Test one approved job at its smallest production size, then inspect the final impression, because counters that look open on the plate can close during ink transfer or compression against paper.
Run the complete workflow in this order:
1. Prepare artwork with anti-aliasing and bitmap thresholding under control. Record the minimum stroke width and minimum counter size that remain open after exposure or engraving, and test small text and logos rather than relying on the file preview.
2. Check film alignment against the plate and cutting fixture. Warping, uneven clamping, or a coordinate mismatch creates skewed margins, inconsistent relief, and mounting errors even when the image itself is sharp.
3. Validate back exposure, main exposure, washout and drying time, and post-exposure separately. Excessive main exposure closes fine gaps; insufficient exposure leaves weak shoulders. Incomplete washing leaves soft or tacky relief, while rushed drying causes swelling and dimensional change.
4. Trim, mount, and inspect a finished stamp under normal pressure. Check edge cleanliness, relief height, flatness, adhesive position, and the first clear impression; count rework and rejects as lost output, not as completed production.
Shorten washing or drying only after testing the polymer. Extra wash pressure can remove shoulders, and mounting a damp plate can distort the stamp after production appears complete.
Use a sustained acceptance test before choosing a supplier
Require a machine acceptance test on your artwork, exact plate material, normal thickness, and smallest production text—not a demonstration using an easy sample. Ask the supplier to run sustained production cycles after the machine reaches operating temperature, then record finished, saleable stamps per hour from approved artwork through inspection.
- Run enough consecutive cycles to expose thermal recovery problems. Record dwell time, cooling time, relief depth, hardness, adhesion, and impression consistency from the first, middle, and final batches.
- Measure platen temperature at the centre and corners, and check platen parallelism. A controller showing the target temperature does not prove that the plate receives uniform heat.
- For laser equipment, request a parameter matrix using your exact rubber sheet and batch specification. Compare speed, power, focus, pulse frequency or PPI, edge charring, debris, odour, open counters, and cutting time.
- Submit a quality control test stamp containing fine text, narrow strokes, small counters, a solid logo, and reversed artwork. Inspect the stamp and paper impression at the smallest size you will sell.
- Require the supplier to include artwork correction, alignment, washing or cleaning, drying, curing, trimming, mounting, changeovers, rejects, and operator breaks in the hourly result.
| Supplier evidence | What it proves | Reject the claim if |
|---|---|---|
| Complete workflow log | Saleable throughput | It reports only exposure or engraving time |
| Repeated samples | Stable quality during production | Only the first cold-machine cycle is shown |
| Parameter sheet and test swatch | Reproducible settings | One universal setting is quoted |
Sun Graphics can be included in a stamp machine supplier comparison only after it provides the same records, samples, and acceptance limits as competing suppliers.
Related products
 | Rubber Stamp Making Machin ₹7800 inimum Order Quantity: 1 Piece Product Brochure Machine Type Rubber Stamping Machine Automation Grade Semi-Automatic Usage/Application STAMP MAKING... View product → |
 | Flash Stamp Making Machine ₹8500 2 Tube Model The 2 Tube Flash Stamp Making Machine is a reliable and efficient solution for manufacturing high-quality flash stamps quickly and... View product → |
Frequently asked questions
Why does advertised cycle time fail to show actual production speed?
Cycle time covers only part of production. Measure saleable stamps per hour after artwork setup, film alignment, exposure, washing, drying, mounting, and inspection.
How should you evaluate a rubber stamp machine’s exposure system?
Test it against defects you need to prevent, including blurred edges, weak fine text, incomplete curing, and uneven exposure across the plate.
Why must machine settings match the plate material and production method?
Different plate materials and methods require different exposure, heat, wash, and drying settings. Incorrect settings reduce relief quality and create inconsistent impressions.
What should a supplier acceptance test include?
Run artwork, registration, exposure, washing, drying, mounting, and inspection as one workflow, then repeat it over a sustained production period.
Related products
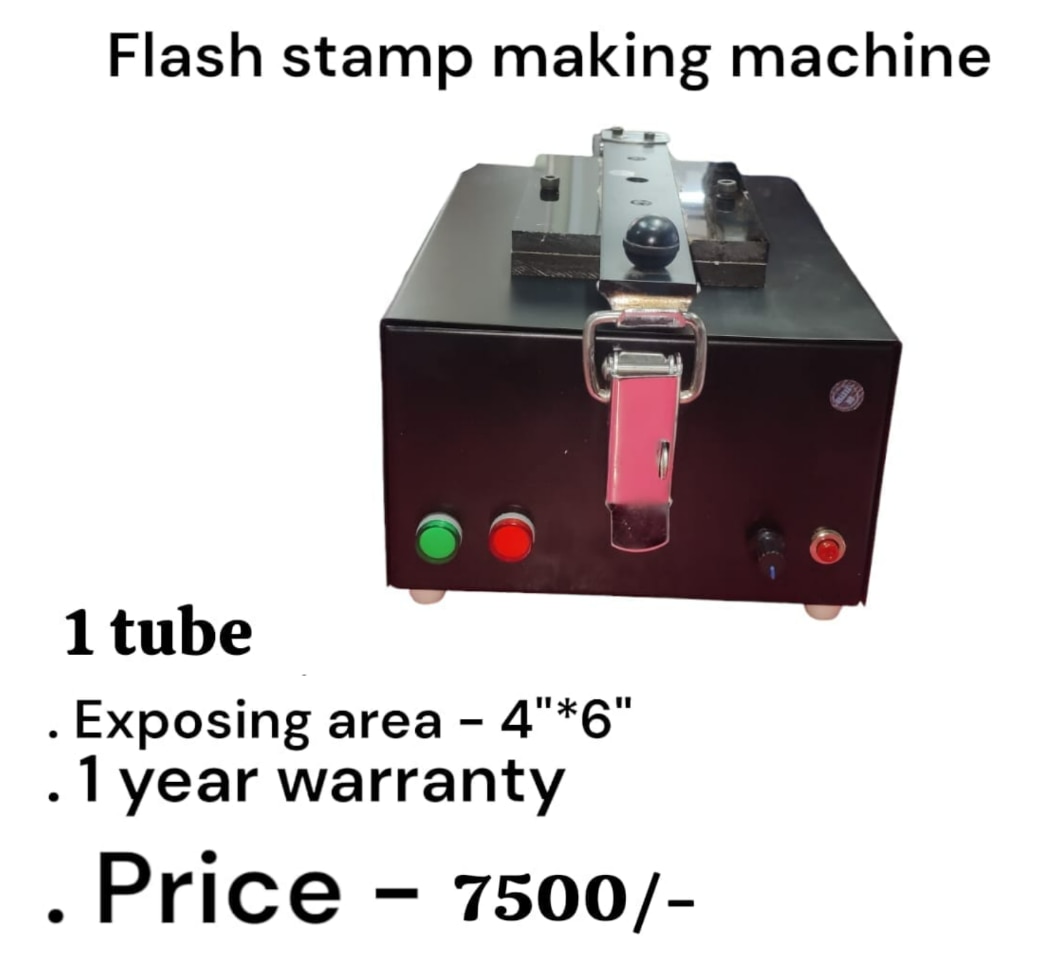 | Flash Stamp Making Machine Flash Stamp Making Machine 1 Tube Model ₹7500 Flash Stamp Making Machine (1 Tube) – Product Description Flash Stamp Making Machine – 1 Tube Model The 1 Tube Flash Stamp Making Machine is an... View product → |
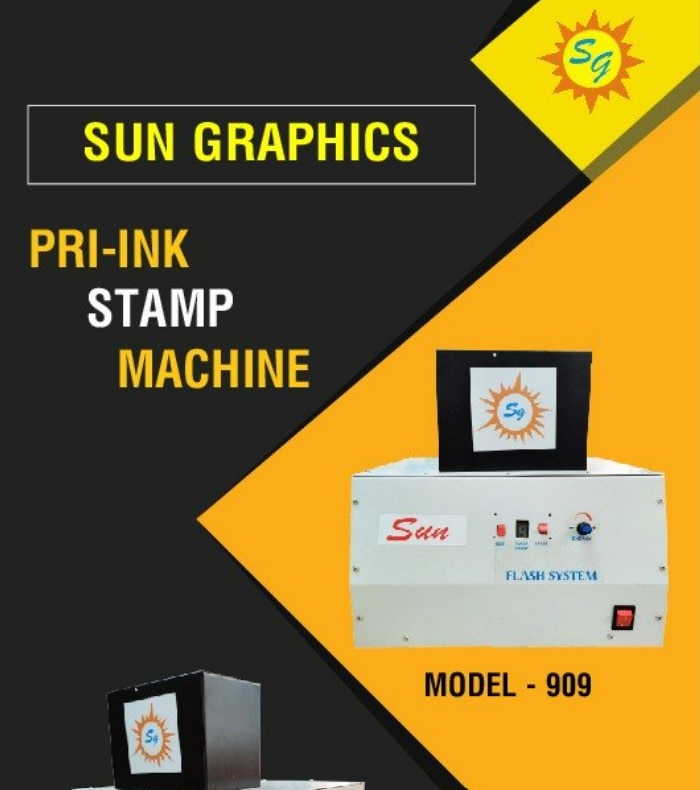 | Pre Ink Stamp Machine ₹13500 Sun Graphics is a supplier and dealer of Pre Ink Stamp Machines and flash stamp making systems in Delhi. View product → |
 | Flash Stamp Making Machine Automatic (2 in 1 Model) ₹13500 Flash Stamp Making Machine Automatic (2 in 1 Model) – Heavy Duty Automatic Flash Stamp Making Machine – 2 in 1 Model The Automatic Flash Stamp Making... View product → |
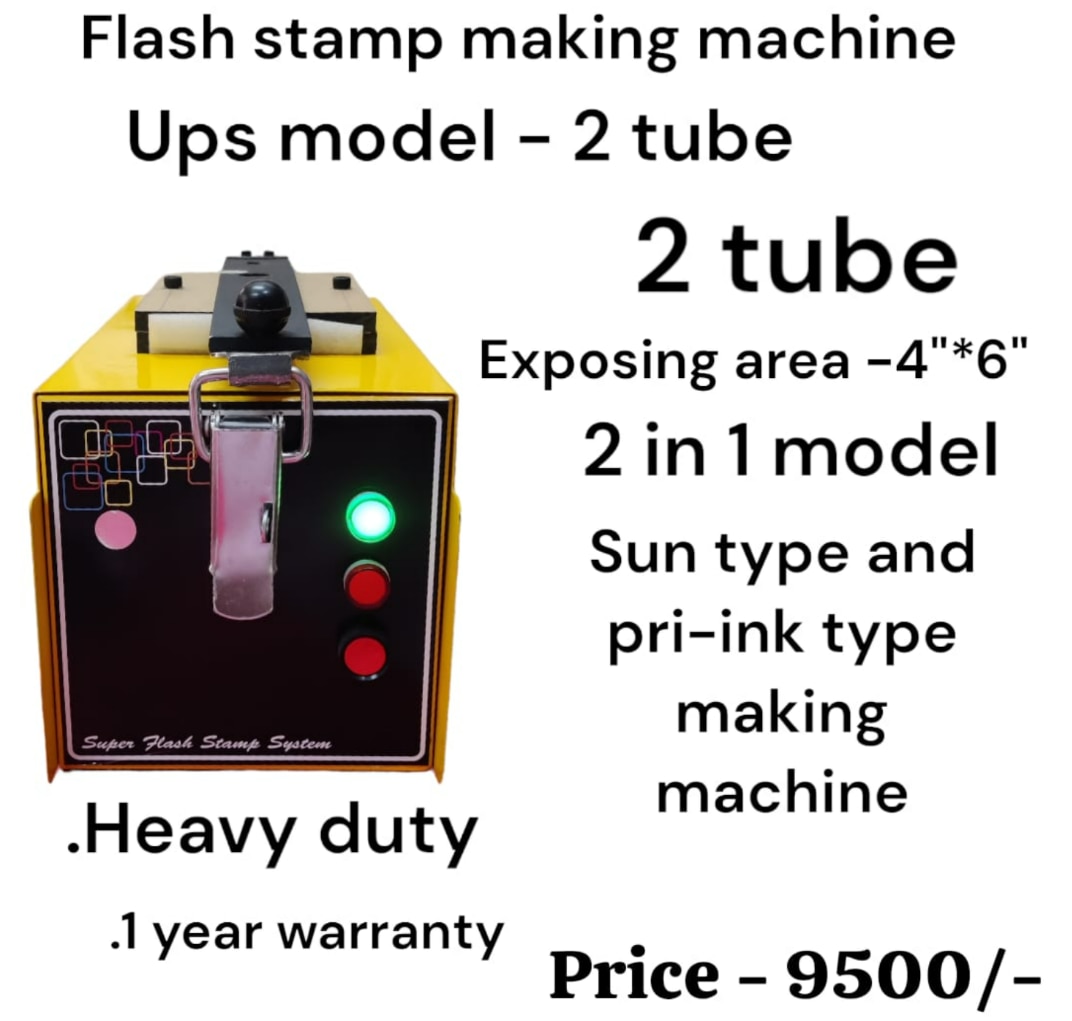 | Flash Stamp Making Machine Flash Stamp Making Machine (UPS Model – 2 Tube) ₹9500 Flash Stamp Making Machine (UPS Model – 2 Tube) Specification Details Product Name Flash Stamp Making Machine Model UPS Model – 2 Tube Type 2-in-1... View product → |