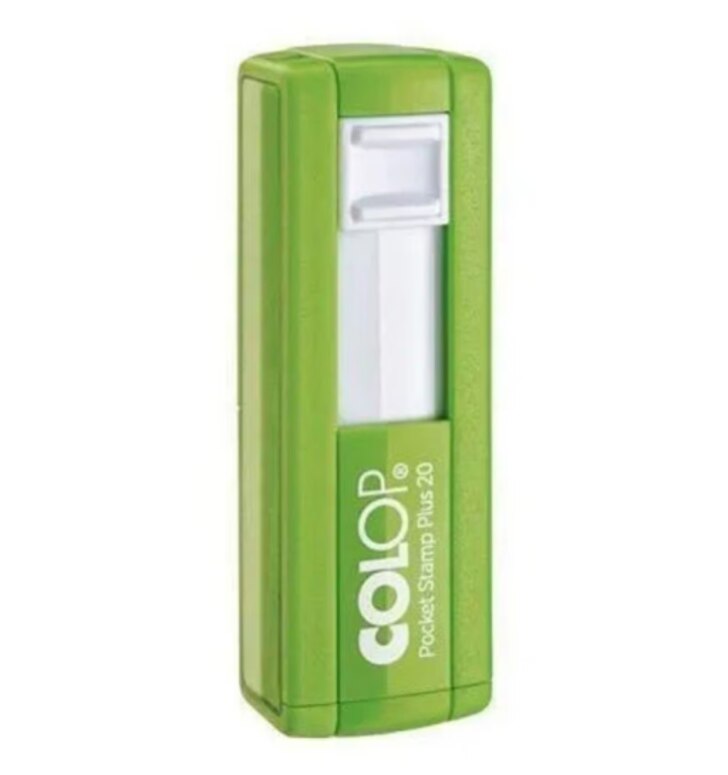
Repeated stamping becomes inefficient when every impression requires a separate ink pad, careful repositioning, and cleanup. You will be able to judge whether a self-inking stamp fits your documents, compare it with traditional and pre-inked alternatives, and avoid the handling errors that cause poor impressions.
Key takeaways
- Use a self-inking stamp when you repeat the same mark across many documents.
- Choose pre-inked stamps for fine detail and traditional stamps for flexible ink colours.
- Match the stamp size, ink type, and capacity to your documents and daily volume.
- Clean the die and replace the ink pad when impressions become faint or uneven.
How a Self-Inking Stamp Speeds Up Repetitive Work
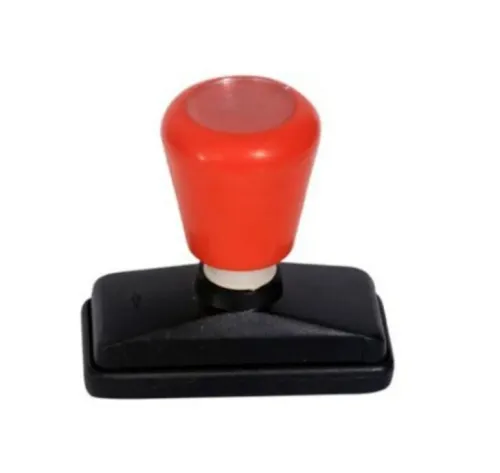
Press, lift, repeat: a self-inking stamp completes the inking cycle inside its body. When you press down, the stamp die contacts the document; when you release it, a return mechanism rotates the die onto the internal ink pad, ready for the next impression.
That design removes the separate pad-handling step. You do not open a pad, align the die, press, and replace the pad after every mark. One-handed operation makes repeated RECEIVED, PAID, APPROVED, department, or date impressions faster and leaves fewer misplaced or uncovered pads on the desk.
| Option | Handling during repeated stamping | Practical result |
|---|---|---|
| Self-inking stamp | Built-in pad; the die re-inks after each lift | Quick, consistent short-form impressions with compact storage |
| Rubber stamp with separate pad | Position the pad, ink the die, stamp, and replace the pad | More interruptions, greater risk of a dry or misplaced pad, and more storage space |
| Pre-inked stamp | Ink sits inside the die; refill access and capacity depend on the model | Sharp fine detail and a softer press, but refilling can be less straightforward for heavy use |
A separate-pad stamp remains useful when you need several ink colours or frequent changes in position and orientation. A self-inking stamp is less convenient for those tasks because its built-in cycle assumes the same face-down direction and ink colour.
Its convenience also depends on replacing the internal pad when impressions fade; excessive re-inking can blur fine lettering.
Self-Inking Versus Traditional and Pre-Inked Stamps
For frequent short-form marks, a self-inking stamp usually offers the best balance of speed, impression consistency, and desk space. The trade-off is a taller, heavier housing and less freedom to switch ink colours between impressions.
| Option | Practical strengths | Trade-offs |
|---|---|---|
| Self-inking stamp | One-handed operation, quick repeat impressions, internal pad, tidy storage | Larger mechanism; pad replacement is a separate consumable; less suitable when every impression needs a new position or colour |
| Traditional rubber stamp with a separate ink pad | Lowest-cost, compact die; easy to change pad colour or ink type; flexible for occasional use | You must position and re-ink the pad separately; the pad can be misplaced, uncovered, or dry; pressure and ink coverage vary more |
| Pre-inked stamp | Sharp fine detail, compact impression area, and strong results for logos or small text | Higher refill precision; finite ink capacity; slower to revive once ink distribution becomes uneven; repeated heavy use can exhaust it sooner than expected |
A traditional rubber stamp makes sense when you stamp only a few documents, need several ink colours, or use different surfaces. Its separate ink pad also lets you replace the pad without replacing the die.
Choose a pre-inked stamp for detailed artwork and clean, high-resolution marks rather than maximum throughput. It has a softer impression feel and needs correct re-inking; forcing unsuitable ink into it can blur detail or damage the reservoir.
For routine “approved,” “received,” or date marks, the self-inking format removes handling steps. Store it fully retracted, and replace the internal pad when impressions become pale or uneven instead of replacing a serviceable die.
Match the Stamp to the Document and Workload
Choose the impression size from the mark’s actual width and height, not from the number of artwork lines. A large logo or multi-line approval mark needs a larger housing, which takes more desk space and requires more pressure to produce an even impression.
| Requirement | Best fit | What to check |
|---|---|---|
| Fixed short mark | Self-inking stamp | Confirm the impression size and leave space around the text |
| Fine logo detail | Simplified self-inking artwork or pre-inked stamp | Remove tiny lettering and crowded lines; approve a physical proof |
| Changing information | Date stamp or numbering stamp | Select an adjustable mechanism rather than a fixed die |
| Very large daily batch | Larger-capacity unit or dedicated marking system | Compare cycle rate, refill intervals, and operator fatigue |
Paper changes the result. Standard office paper suits most office ink, while glossy, coated, or non-porous stock needs ink specified for that surface; ordinary ink can remain wet, smear, or produce a pale mark.
Use a self-inking stamp when the same short impression repeats in one position throughout the day. Choose another process when:
- Every document needs a different location, orientation, or ink colour.
- The artwork contains very fine logo detail that disappears at the selected impression size.
- Operators must mark hundreds or thousands of documents continuously and hand pressing becomes the bottleneck.
For a date stamp or numbering stamp, confirm that the wheels are easy to advance without shifting the stamp’s alignment. Store the unit locked or fully retracted so the die does not press against the pad or drawer surface.
Use It Correctly and Diagnose Poor Impressions
Use a flat, firm document stack and make a straight downward press. Keep the housing level, avoid rocking it, and lift it vertically; a fold or unsupported paper edge can leave missing characters or a darker edge even when the stamp is sound.
- Missing characters or a dark edge on a flat sheet: correct your pressure and alignment, then test again.
- Feathering, slow drying, or poor adhesion: check the paper and ink combination. Water-based ink suits porous office paper; oil- or solvent-based ink is for selected nonporous surfaces. Coated paper can reject the wrong formulation.
- Pale, patchy impressions across the whole design: inspect the internal pad. It may be dry, contaminated with paper fibers, or distributing ink unevenly.
- Blurred fine detail after adding ink: stop re-inking. Too much stamp refill ink floods the die and transfers ink into the return mechanism; replace the pad when quality matters.
- Repeated gaps or distorted letters after a clean test and a fresh pad: inspect for a worn stamp. A flattened, cracked, or damaged die needs replacement.
Test on the same paper used for the job, not on a scrap of different stock. If the impression improves on plain paper, the document surface is the cause; if it remains defective with a fresh compatible pad, the die is the likely failure point.
Store the stamp locked or fully retracted to prevent accidental marks and reduce pressure against the pad.
Check Capacity, Storage, Consumables, and Workflow Fit
Choose a self-inking stamp when one person must apply the same mark repeatedly on ordinary porous office paper, with consistent positioning and no need to change the wording between impressions. It suits frequent desk-based work, but not every high-volume stamping line.
1. Count the real workload. Record impressions per hour, not just documents per day. If the operator must lift, align, and press thousands of times, fatigue and positioning errors may outweigh the convenience; an electric marker, inline printer, or dedicated document workflow may fit better.
2. Confirm consumables before buying. Ask for the exact model number of the replaceable ink pad, its expected service interval, and its availability. Check ink compatibility: water-based ink suits porous paper, while oil- or solvent-based ink suits selected nonporous surfaces. The wrong formulation can feather, dry slowly, swell the pad, or damage the die.
3. Test the workflow on actual documents. Verify the impression remains legible at the required size, leaves room for signatures or dates, and supports your document compliance rules. A stamp that covers a reference number or becomes unreadable after scanning is not a practical choice.
4. Check storage and replenishment. Store the unit locked or fully retracted, and keep spare pads sealed and labelled. Sun Graphics can help confirm model-specific pad and ink choices before you standardize equipment across a department.
Choose another system when variable data, very large batches, nonporous materials, or traceable automated records matter more than compact one-handed operation.
Related product
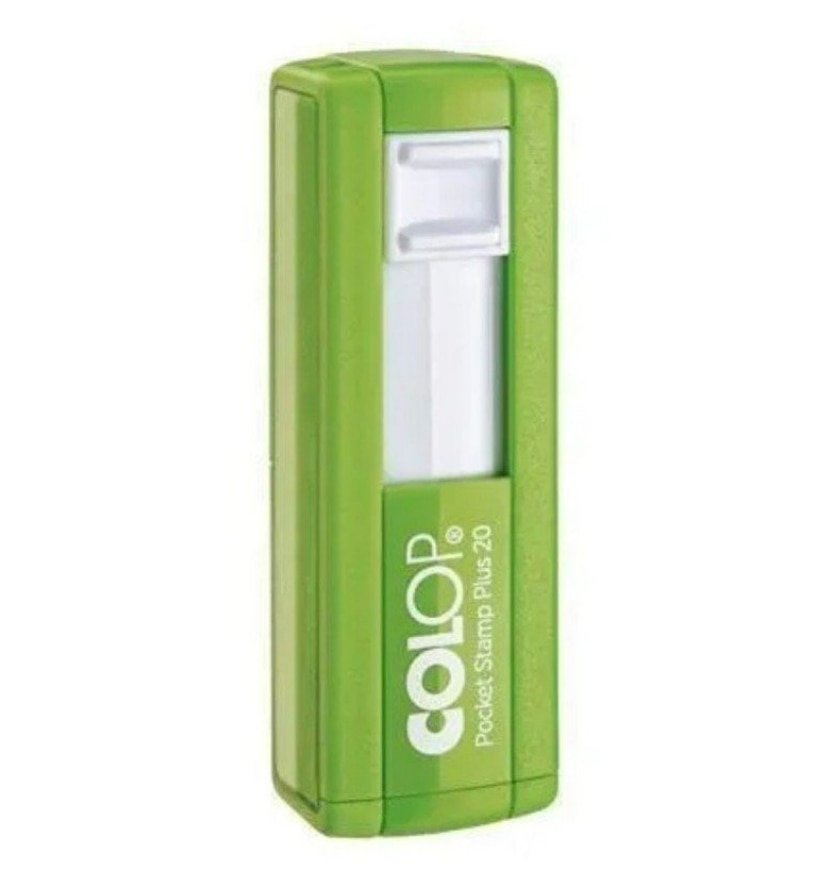 | Green Plastic Colop Pocket Pre Self Inking Stamp Green Plastic Colop Pocket Pre Self Inking Stamp ₹110 Sold By - Sun Graphics, New Delhi, View product → |
Frequently asked questions
How does a self-inking stamp speed up repetitive work?
Its internal mechanism returns the stamp die to an ink pad after each impression, so you do not handle a separate ink pad between documents.
How does a self-inking stamp compare with a traditional stamp?
A self-inking stamp is faster and tidier for repeated marks, while a traditional stamp offers more flexibility when you need different ink colours or frequent die changes.
When is a pre-inked stamp a better choice?
Choose a pre-inked stamp when you need fine detail, a compact design, or a strong impression from a detailed stamp die.
What causes poor impressions from a self-inking stamp?
Poor impressions usually come from uneven pressure, a dirty or worn die, low ink, an incorrectly fitted pad, or an unsuitable document surface.