A detailed stamp starts with controlled ultraviolet exposure, accurate artwork contact, and a plate that is washed and cured without damaging fine relief. By the end, you will know how the process works, how to prepare artwork, how to choose equipment, and when a different stamp method will produce a better result.
Key takeaways
- Use a high-contrast film positive with clean, opaque image areas.
- Calibrate UV exposure with a test strip before making the final plate.
- Wash, dry, post-cure, trim, and mount the relief before use.
- Choose polymer equipment by substrate, stamp layout, and daily volume.
What the Polymer Process Actually Produces
A polymer stamp machine exposes ultraviolet-sensitive polymer through a high-contrast film positive or negative. Ultraviolet light hardens the selected image areas, creating a raised polymer relief rather than printing the artwork directly. The plate then goes through washout, drying, post-curing, trimming, and mounting before it becomes usable.
The machine makes the polymer plate, not the complete stamp. You still need compatible polymer sheets or liquid polymer, exposure film, wash water, mounting adhesive, and a suitable mount. The handle, stamp body, ink reservoir, and self-inking mechanism require separate components.
flash stamp versus polymer stamp is a choice between different working materials and finished formats:
| Option | What it produces | Ink arrangement |
|---|---|---|
| Polymer stamp | Dry raised photopolymer relief | Separate ink pad |
| Flash stamp | Relief in flash foam | Ink held in the foam |
| Pre-inked stamp | Die with ink stored in its body | Internal ink reservoir |
| Vulcanised rubber die | Heat-cured rubber relief | Separate ink pad |
| Self-inking stamp | Rubber or polymer die on a rotating mechanism | Internal pad flips onto the die |
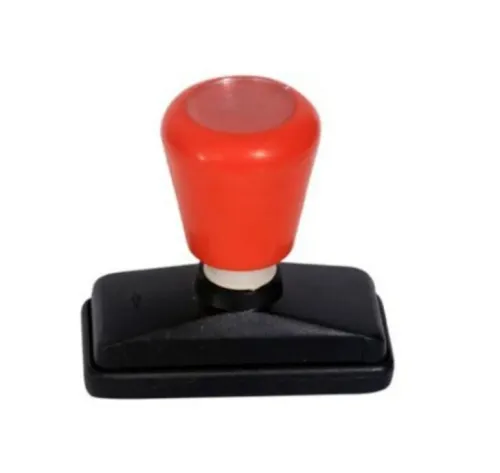
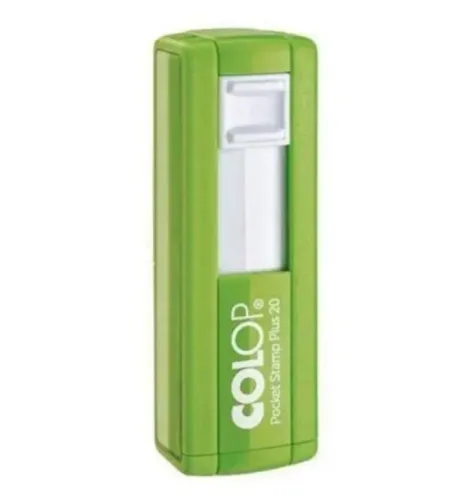
A photopolymer stamp suits custom seals, logos, signatures, dates, and ordinary text, but you must select the finished format separately. Choose a handheld mount for a dry relief, or specify a pre-inked or self-inking construction when you need built-in ink and faster repeated impressions.
The process is not laser engraving: a polymer stamp machine uses UV exposure and washout, while laser equipment removes material from rubber through engraving. Each method needs different artwork controls, consumables, ventilation, and maintenance.
Prepare Artwork and Calibrate Exposure for Fine Detail
Small lettering survives only when the artwork, film contact, and exposure are controlled together. Judge the result at actual stamp size, not from an enlarged monitor preview.
1. For stamp artwork preparation, use clean, high-contrast vector artwork. Convert fonts to outlines or vector paths, then output a transparent or opaque film positive or film negative with dense blacks. Remove anti-aliased edges, hairlines, low-opacity objects, and transparency effects you have not examined.
2. Proof the design at finished size and inspect the counters in e, a, and R. Test isolated dots, border lines, reverse lettering, multilingual text, serial numbers, QR codes, and halftones separately; each feature fails differently when it is too small or dense.
3. Press the film tightly against the polymer. Film movement, dust, bubbles, warped film, and an air gap create halos and erase narrow strokes, even with correct UV exposure time for polymer stamps. Use clean contact surfaces and verify that the film cannot shift during exposure.
4. Confirm the polymer thickness, hardness, plate format, UV source, timer range, tray thickness, lamp distance, and usable exposure area before setting a process. Calibrate both base and image exposure, check timer accuracy, and run a small exposure ladder rather than adopting a universal time.
Underexposure leaves soft relief and washed-out strokes; overexposure closes counters and thickens lines.
Wash, Cure, Mount, and Protect the Relief
After image exposure, complete the plate in this order:
- Separate the film from the polymer.
- Perform polymer plate washout by washing or rinsing away unexposed polymer.
- Remove residue between characters and inside counters.
- Dry the plate evenly.
- Apply the required post-curing stamp plate step.
- Trim the relief.
- Bond it flat to the mount.
Incomplete washing leaves blocked letters, trapped resin, and ink pooling. Excessive washing erodes thin strokes and produces ragged edges. Uneven backing exposure creates inconsistent plate thickness, so characters across one design receive different ink pressure.
Relief depth is a balance:
| Condition | Result |
|---|---|
| Too little relief | The background contacts paper and creates a dirty impression |
| Correct relief | Characters transfer cleanly without excessive deformation |
| Too much relief | Flexible characters deform under pressure and lose sharpness |
Dust, contaminated wash water, redeposited resin, tacky surfaces, and excessive heat damage repeatability. Store unused polymer, film, and finished plates away from UV light, dirt, and heat.
For polymer stamp troubleshooting, investigate weak impressions, pinholes, blocked letters, smudging, uneven thickness, and ragged edges in this order:
- Artwork contact
- Image and backing exposure
- Washout
- Drying
- Curing
- Plate flatness
- Mounting bond
- Ink load
- Stamping pressure
Choose Equipment by Substrate, Layout, and Throughput
Choose equipment by polymer machine compatibility, usable layout, and stamp machine throughput—not by a fast flash-production claim. Confirm in writing whether the unit accepts polymer plates, liquid photopolymer, flash foam, or both. A listing that names Sun Type or pre-inked stamps does not establish polymer compatibility.
| Option | UV uniformity and timer | Area, cycle, capacity, workload |
|---|---|---|
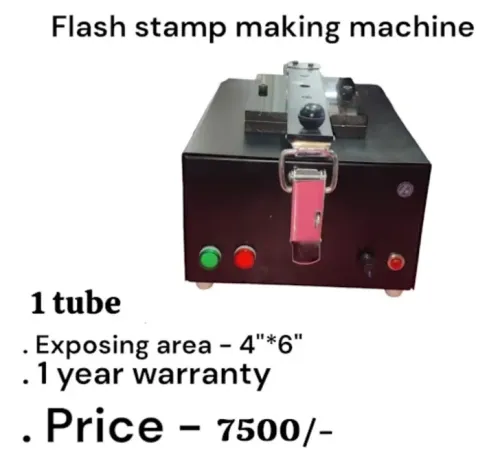
| One tube | Inspect edge-to-edge consistency and repeatability | Smaller area; slower batches; more manual handling |
| Two tubes | Compare tube balance and timer drift | Moderate area and cycle time; suitable for regular small batches |
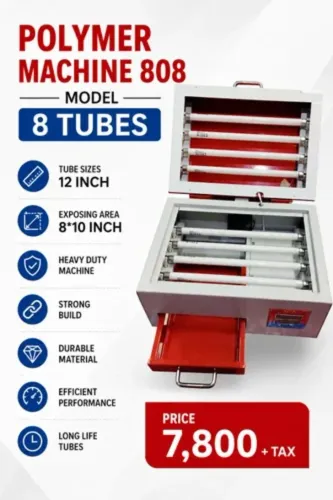
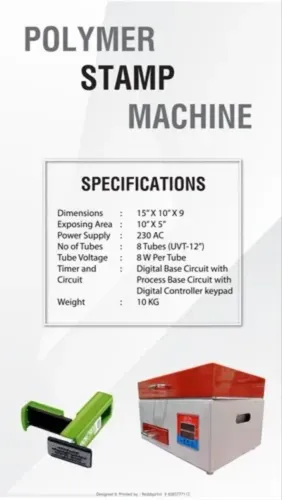
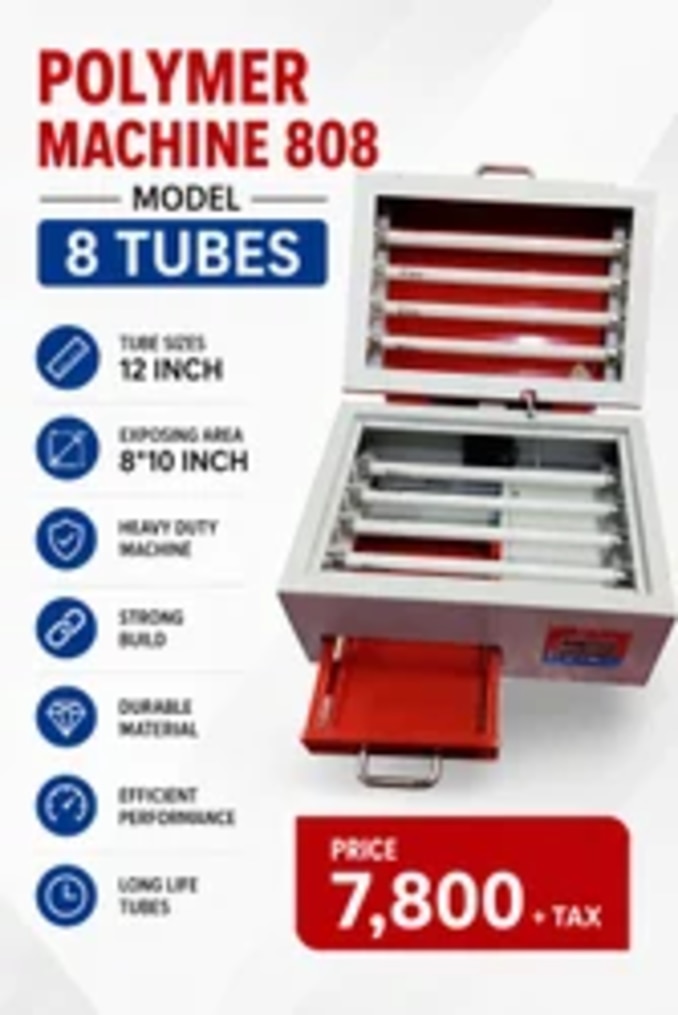
| Eight tubes | Check intensity across the full bed | Larger batch capacity; confirm cooling and replacement-tube access |
| Automatic | Verify programmed exposure and repeatability | Higher practical capacity; less operator work, but more controls to maintain |
Do not compare lamp wattage alone. Compare washout and drying capacity, post-curing, power backup, bench space, ventilation, water access, and electrical supply; an oversized exposure bed still fails as a workflow when washing or drying becomes the bottleneck.
A 4 × 6 inch stamp exposure area is not a 4 × 6 inch usable layout. Subtract margins, clamps, tray edges, and spacing, then add each finished stamp’s trim margin while arranging designs inside the remaining rectangle. Reject any plate that crosses the active area or receives uneven intensity.
Before ordering from Sun Graphics or another supplier, request:
- Polymer thickness and hardness range, plate format, UV lamp or module type, timer range, operating limits, warranty, training, spare parts, service arrangements, and compatible consumables.
- A capacity recommendation based on daily orders, artwork complexity, operator skill, and the complete washout-to-drying workflow.
Related products
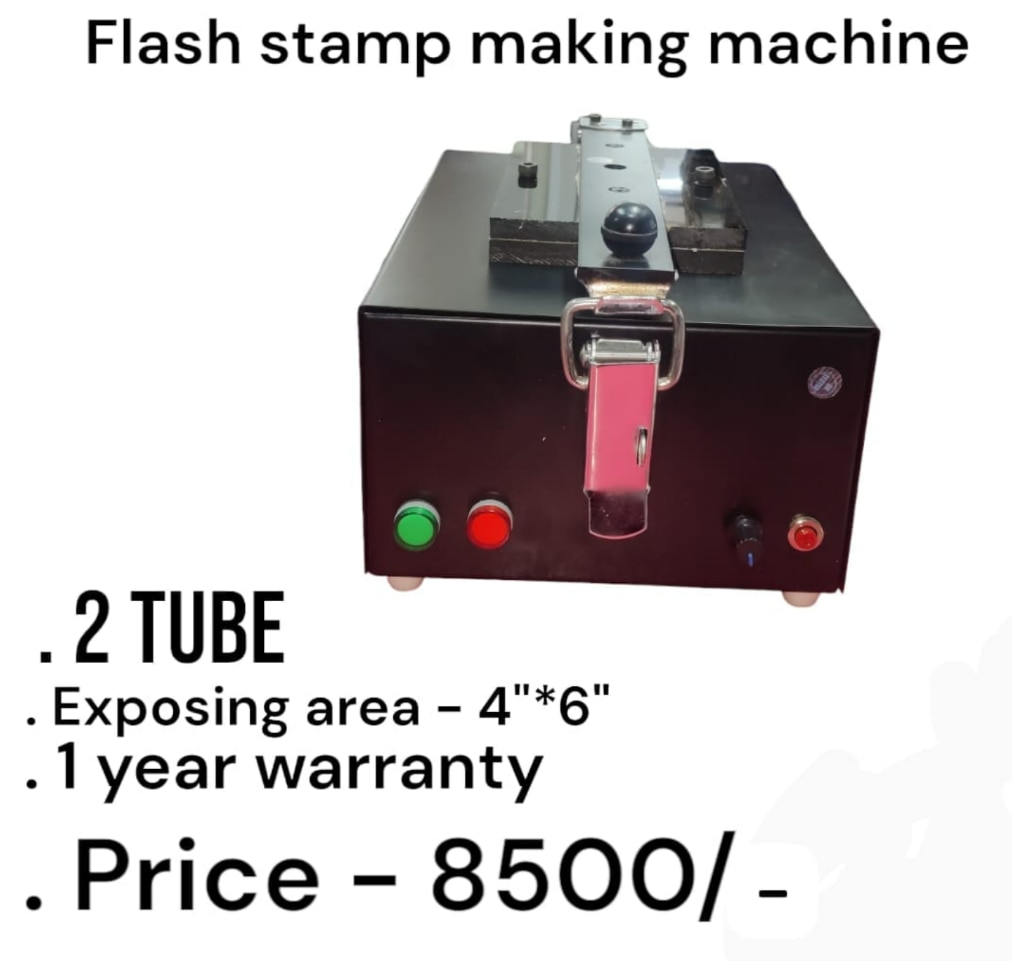 | Flash Stamp Making Machine ₹8500 2 Tube Model The 2 Tube Flash Stamp Making Machine is a reliable and efficient solution for manufacturing high-quality flash stamps quickly and... View product → |
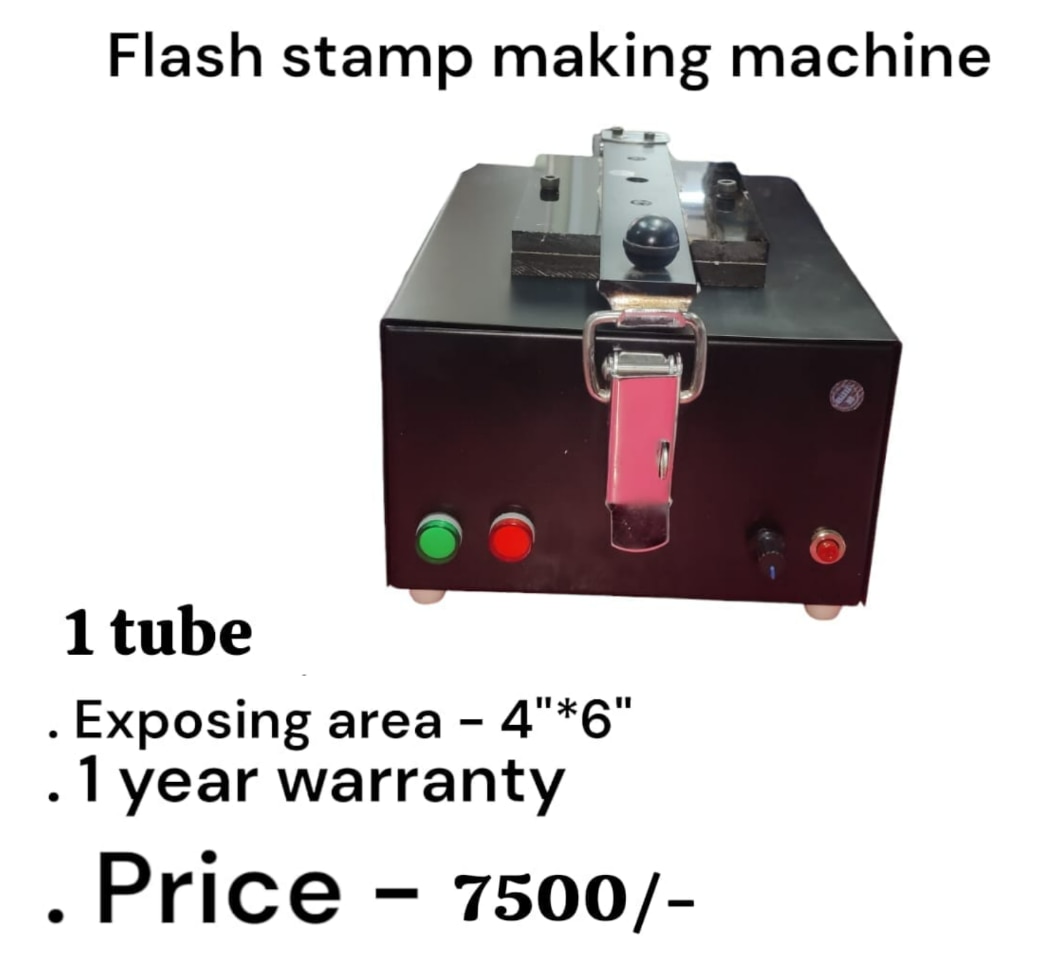 | Flash Stamp Making Machine Flash Stamp Making Machine 1 Tube Model ₹7500 Flash Stamp Making Machine (1 Tube) – Product Description Flash Stamp Making Machine – 1 Tube Model The 1 Tube Flash Stamp Making Machine is an... View product → |
Verify Impressions and Know When Polymer Is the Wrong Choice
A practical polymer stamp quality control routine starts with magnification: inspect every letter, edge, counter, and isolated dot on the relief. Stamp on plain paper, checking full ink transfer and a clean background; measure or compare relief depth, then make repeated impressions from the same plate. This is the core of custom stamp testing.
Confirm that seals remain legible, signatures do not fill in, dates and serial numbers stay sharp, and multilingual characters retain their counters. Test QR codes only from a real-size printed impression, not an enlarged screen proof.
- Reject the plate if microtext, dense halftones, or heavily textured surfaces lose definition.
- Count artwork correction, films, polymer, exposure trials, wash water, drying, post-curing, adhesive, mounts, ink, cleaning supplies, replacement tubes or UV modules, rejected plates, and operator time.
- Compare that recurring workload with outsourcing stamp production when order volume is low or a deadline is tight.
When not to use polymer stamps depends on the substrate, service life, delivery format, and volume:
| Option | Choose it when | Key difference |
|---|---|---|
| Vulcanised or laser-engraved rubber | You need long service life or durable impressions | Laser engraving uses different ventilation, artwork, consumables, and maintenance controls |
| Flash or pre-inked | You need a compact, self-contained format | Ink is stored in the stamp body |
| Self-inking | You need repeated office impressions | An internal pad and rotating mechanism handle re-inking |
Choose finished dies instead of tying up staff in trials when demand is sporadic. A deeper relief is not automatically better: too little dirties the background, while too much deforms flexible characters under pressure.
Frequently asked questions
What does a polymer stamp machine produce?
It produces a raised polymer relief by hardening selected areas of UV-sensitive polymer through a high-contrast film.
How do you prepare artwork for fine polymer stamp detail?
Use clean, high-contrast artwork and calibrate UV exposure with a test strip before producing the final plate.
What steps finish a polymer stamp plate?
Wash out the unexposed polymer, dry the plate, post-cure it, trim the relief, and mount it for stamping.
How should you choose polymer stamp-making equipment?
Compare equipment by the stamping substrate, artwork layout, plate size, and number of stamps you produce.
When is polymer the wrong choice for a stamp?
Choose another process when the required substrate, impression durability, detail, or production volume exceeds polymer’s practical limits.
Related products
 | Rubber Stamp Making Machin ₹7800 inimum Order Quantity: 1 Piece Product Brochure Machine Type Rubber Stamping Machine Automation Grade Semi-Automatic Usage/Application STAMP MAKING... View product → |
 | Flash Stamp Making Machine Automatic (2 in 1 Model) ₹13500 Flash Stamp Making Machine Automatic (2 in 1 Model) – Heavy Duty Automatic Flash Stamp Making Machine – 2 in 1 Model The Automatic Flash Stamp Making... View product → |
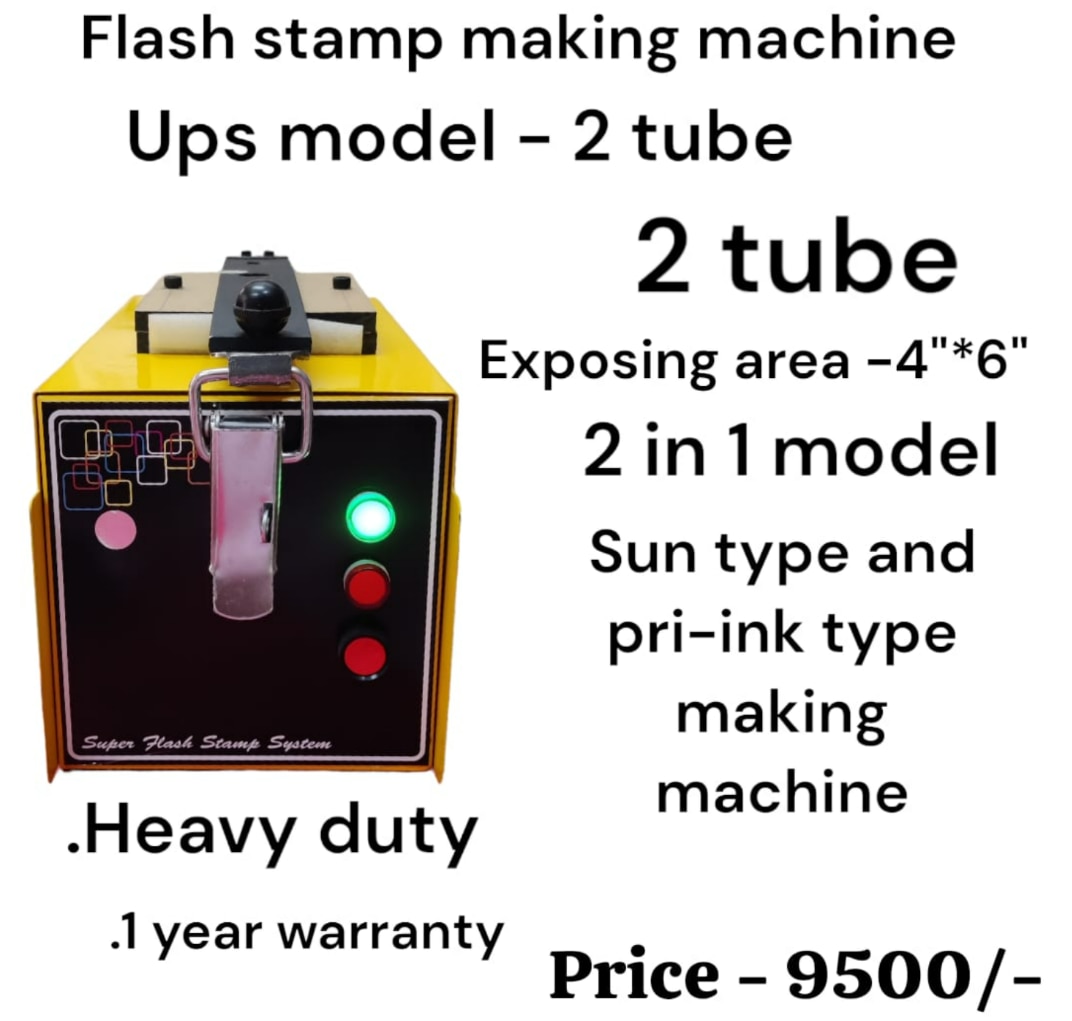 | Flash Stamp Making Machine Flash Stamp Making Machine (UPS Model – 2 Tube) ₹9500 Flash Stamp Making Machine (UPS Model – 2 Tube) Specification Details Product Name Flash Stamp Making Machine Model UPS Model – 2 Tube Type 2-in-1... View product → |
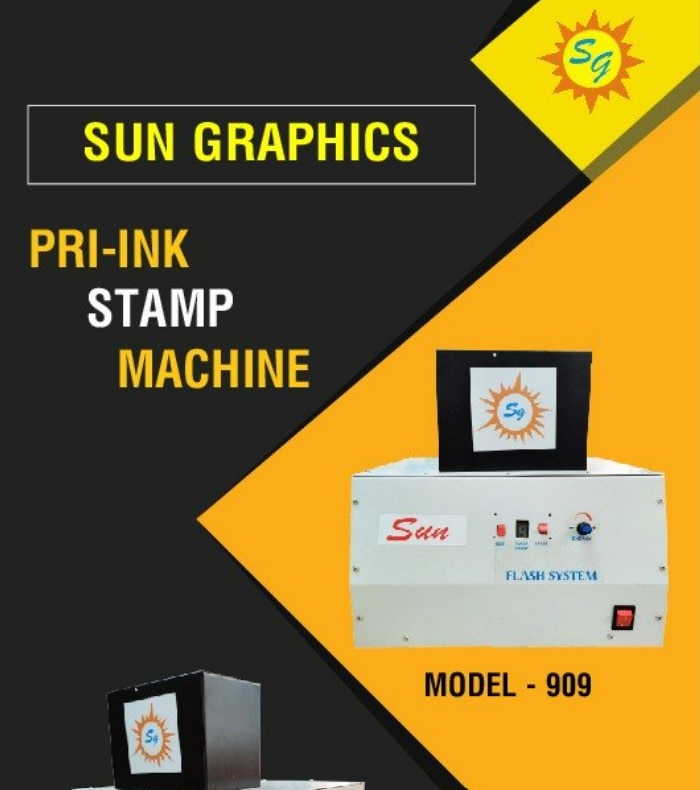 | Pre Ink Stamp Machine ₹13500 Sun Graphics is a supplier and dealer of Pre Ink Stamp Machines and flash stamp making systems in Delhi. View product → |