A plate can look correct on screen and still produce blocked counters, broken lines, uneven coverage, or unreadable variable data. By matching the test material, controlling ink and pressure, and recording repeatable impressions, you can reject defects before they reach the production run and identify whether the fault lies in the artwork, plate, or setup.
Key takeaways
- Clean the plate before testing to prevent dust from masking defects.
- Change ink, pressure, or roller condition one variable at a time.
- Reject proofs with gaps, filled counters, blurred edges, or uneven coverage.
- Use production equipment to confirm run-speed, feeding, and long-run performance.
What a proof roller tests in a single impression
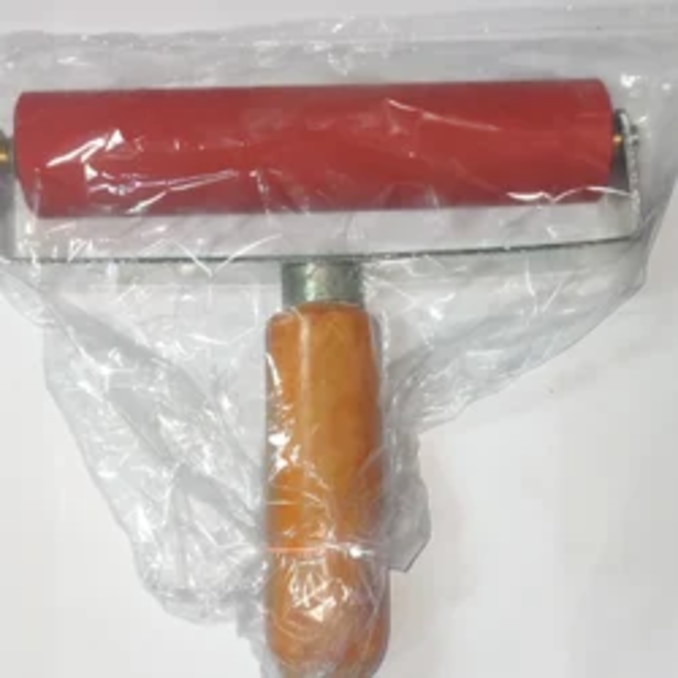
A proof roller tests the physical impression made by a stamp plate before the plate enters a production machine. Its setup holds the parts needed to transfer the design under controlled contact:
- A hand-operated roller that spreads and transfers ink
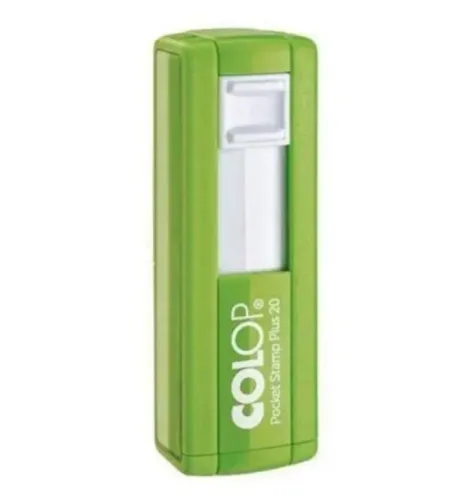
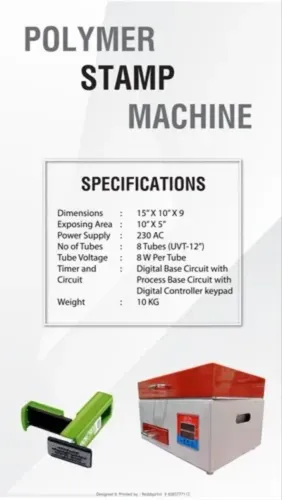
- A stamp plate or type form carrying raised or recessed image details
- A measured ink supply that forms the ink film
- A chosen substrate, such as paper, card, label stock, or another receiving surface
- A pressure-adjustment mechanism controlling contact between the roller, plate, and substrate
The roller passes across the inked plate and substrate, pressing the image onto the surface in one controlled movement. That impression previews the mark’s geometry and contact quality: incomplete transfer, blocked counters, broken fine lines, pinholes, uneven coverage, and heavy edges become visible before machine setup.
Use light or normal pressure, not only the darkest pressure obtainable by hand; excessive force can hide gaps while filling small openings and spreading the edges.
A single attractive impression is useful but limited. The first pass can expose excess ink or contamination, while later passes show whether the ink film and transfer settle into a stable result.
Record the plate or artwork version, substrate, ink, pressure setting, and roller condition so a later defect can be traced to the correct change. A hand proof cannot confirm performance at production speed.
A controlled proofing workflow from plate cleaning to approval
Clean the plate, confirm the artwork version, and use the production substrate and ink for the pre-production workflow. Set the roller for light or normal contact before chasing the darkest possible mark; excessive pressure can fill counters and hide a defective plate.
- Remove dried ink, dust, and debris from the plate without damaging fine lines. Check missing type, blocked counters, cracks, and pinholes.
- Apply a measured ink quantity and make one test impression. Inspect the first sheet for contamination, excess ink, and incomplete transfer.
- Make two or three further impressions without changing the setting. Stable transfer across the sequence is stronger evidence than one attractive sheet.
- If the image changes, alter one factor only: ink quantity, pressure, or roller condition. Make a fresh comparison impression instead of redrawing the artwork immediately.
- Allow the proof the specified drying time for the production ink and substrate. Then perform a rub test and check offsetting, smearing, adhesion, and ghosting.
- Approve only after checking text, numbering, fine lines, counters, edges, registration, coverage, and repeatability.
Use the sequence below to separate an image fault from a process fault.
| Impression pattern | Likely cause | Next action |
|---|---|---|
| First sheet fails, later sheets improve | Excess ink or contamination | Clean the plate and control ink |
| All sheets fail identically | Artwork or plate defect | Inspect the plate against the approved artwork |
| Edges spread after pressure increases | Excessive contact | Return to light or normal pressure |
| Sheets vary from one another | Unstable inking or roller condition | Check roller surface and ink distribution |
Record the plate or artwork version, substrate, ink, roller condition, pressure, impression count, drying time, defects, and approval signature. For variable data, include the longest and shortest strings, repeated characters, and challenge symbols.
How ink, pressure, and roller condition change the image
A defect that repeats in exactly the same location on every impression points first to the plate or artwork. Missing characters, incorrect numbers, broken lines, and wrongly shaped counters remain fixed; ink and pressure problems usually change when you adjust the impression or make another pass.
Start with a clean plate and take several impressions on the same substrate. Excess ink can fill counters and close fine gaps, while insufficient ink leaves pinholes, weak strokes, or incomplete transfer. If the image improves after the ink film stabilises, the artwork is not the cause.
Change roller pressure in small, recorded steps rather than redrawing the file. Insufficient pressure produces gaps and pale areas; excessive pressure spreads edges, fills counters, and can distort small type. If changing pressure changes the defect, inspect the setting and contact surfaces before altering artwork.
Compare the impressions for these patterns:
- Uneven pressure often creates a dark side and a light side. Check a non-flat plate backing, incorrect mounting, non-parallel surfaces, or a roller with a worn or contaminated section.
- A mark that shifts, doubles, or loses contact after mounting indicates plate seating or mounting movement.
- A defect that follows the roller’s circumference points to dried ink, dirt, a flat spot, or damaged roller covering.
- A defect that stays identical after cleaning, re-inking, and pressure changes points to artwork or plate damage.
Record the artwork version, substrate, ink, roller condition, pressure setting, and impression number. The proof confirms contact and geometry, not standardized process-colour accuracy under ISO 12647-2.
The quality checks that decide whether a proof passes
Approve the proof only when the mark is correct at enlarged inspection and legible at its intended viewing distance. Look for missing characters, filled counters, broken fine lines, pinholes, uneven coverage, feathering, doubled edges, ghosting, and registration drift before treating the impression as production-ready.
Use the actual stock, or one with the same coating and absorbency. Ordinary paper can hide spreading, weak adhesion, and drying faults that appear on coated labels, films, cards, or security documents.
Check these pass conditions:
| Check | Pass evidence | Reject or investigate |
|---|---|---|
| Image | Every character, gap, line, and edge is complete and clean | Missing characters, filled counters, broken fine lines, pinholes, spread, or registration drift |
| Substrate | The impression sits sharply on the production material without feathering | Blurred edges, poor adhesion, penetration, or uneven ink caused by a different stock |
| Drying | After the production-equivalent wait, the mark survives a matching rub test | Smearing, offsetting onto the next sheet, or lifting from the surface |
| Barcode | A scanner or verifier reads the code, with clear contrast, bar widths, and quiet zones | Any failed scan, clipped edge, weak contrast, or encroached quiet zone |
| Variable data | Every tested string is accurate and remains legible | One sample passes while another contains numbering or character errors |
For variable-data approval, test the longest and shortest strings, repeated digits or letters, mixed characters, and symbols that challenge the marking method. Confirm the printed text matches the source record, not merely the artwork.
What a proof roller cannot confirm before the production run
A clean impression proves plate contact, not production approval. It cannot reveal registration drift, feeding faults, drying delays, encoder-timing errors, plate bounce, or intermittent ink supply at production speed. It also cannot confirm that a barcode will scan reliably: use a verifier for symbol contrast, modulation, defects, decodability, and quiet-zone performance.
GS1 barcode verification is not the same as scanning the code once.
Follow the proof with a short run on the intended machine when the job contains variable data, barcodes, tight registration, fine lines, or a substrate that behaves differently under continuous pressure.
- Run enough pieces to expose feeding, registration, coding, drying, and pressure changes. Check the first, middle, and last samples for drift, smearing, missing marks, and timing errors.
- Use the production substrate, ink or ribbon, plate, mounting method, and operating speed. Measure codes with a verifier and inspect colour or density with the instrument specified by your customer; a proof roller is not a colour-managed contract proof under ISO 12647-2.
- Approve the run only after recording the plate or artwork version, machine, substrate, ink or ribbon, production speed, roller or plate condition, pressure, sample count, drying time, verifier result, and inspector’s decision.
If Sun Graphics is helping you choose coding equipment, ask how its settings and short-run samples will be documented; without that trail, a later defect cannot be assigned to artwork, materials, or the machine.
Frequently asked questions
What does a proof roller test in one impression?
It shows how the stamp plate transfers its design under controlled contact, including coverage, edges, fine details, and unwanted marks.
What is the correct proofing workflow?
Clean the plate, prepare the ink, set the roller, make a controlled impression, inspect the result, record changes, and approve or reject the proof.
How do ink, pressure, and roller condition affect the image?
Too much ink can fill fine details, too little ink can leave gaps, excessive pressure can spread edges, and a worn or contaminated roller can create uneven coverage.
What makes a proof pass?
The proof should show complete, even coverage with sharp edges, open counters, readable fine detail, and no streaks, voids, smears, or unintended marks.
What can a proof roller not confirm?
It cannot confirm production-machine speed, automatic feeding, long-run consistency, drying or curing performance, or behaviour under the final production setup.