
Commercial stamp production depends on more than flash exposure speed: artwork quality, material choice, ink control, operator time, and impression testing determine whether a stamp is saleable. You will be able to map the complete workflow, compare pre-ink systems with other stamp technologies, calculate practical output, and specify the machine and consumables your operation actually needs.
Key takeaways
- Inspect artwork at actual stamp size before making the film.
- Match flash exposure, stamp material, ink, and tube size as one process.
- Calculate output from exposure area, cycle time, and usable tube count.
- Accept finished stamps only after testing clarity, coverage, and repeated impressions.
Map the complete pre-ink stamp production workflow
A saleable pre-ink stamp begins as customer artwork and ends only after a clean impression test. The stamp production workflow combines file preparation, film output, flash exposure, finishing, inking, assembly, and inspection.
1. Convert the artwork into a high-contrast negative transparency. Check text direction, logo proportions, line weight, and solid black coverage before printing the film; a reversed negative creates a mirror-image stamp.
2. Cut the flash stamp sheet to fit the exposure area. Place the film against the correct face, align it to the sheet, and secure both so the artwork cannot shift during the flash.
3. Set flash energy and exposure time for the sheet thickness and film opacity. The flash seals the non-image pores while leaving image areas ink-permeable; excess exposure can close intended image areas, while too little causes ink bleed and ghosting.
4. Remove the exposed sheet and follow the material instructions for peeling, washing, or curing where applicable. Do not handle the image surface roughly, or fine characters can deform.
5. Cut each stamp face from the sheet, keeping edges square and removing unwanted material. Clean loose residue before adding ink.
6. Apply the specified pre-ink through the stamp face until the porous body is charged without flooding it. Wipe excess ink from the surface, then fit the stamp into its housing or handle.
7. Test several impressions on ordinary paper. Check sharp text, complete solid areas, even ink distribution, correct orientation, and leakage before packing the finished product.
A pre-ink stamp machine supports flash stamp manufacturing, but the flash stamp sheet, film, ink, protective layers, housing, and replacement flash tube remain part of the job.
Prepare artwork that exposes clean, readable stamp faces
A clean stamp starts with a true black-and-white negative transparency, not a grey logo exported from a document. During stamp artwork preparation, convert colour artwork to solid black and clear areas, remove grey edges and halftones, and confirm the machine’s required polarity; a reversed negative produces a mirror image or the wrong ink pattern.
1. Set the smallest production text, logo detail, and enclosed letter areas at the size you actually sell. Use a minimum line thickness that matches the stamp sheet supplier’s specification, then print a test strip containing fine lines, reverse text, signatures, and dense multilingual text.
Choose a font size for stamps by testing the finished impression, not by relying on screen appearance.
2. Print the negative transparency at 100% scale on suitable printer film. Check it against a light source: image areas must be uniformly opaque, edges must be sharp, and no pinholes, wrinkles, dust, or registration shift should remain. A translucent grey area can expose as weak text and let ink leak through.
3. Position the film flat against the stamp material, with the image orientation and protective layers arranged as the machine manual specifies. Record material thickness, flash energy, exposure time, and source-to-material distance.
4. Run a small proof before production. Excess exposure can seal intended ink channels and block counters; insufficient exposure leaves the background porous, causing ghosting or ink bleed. Inspect the first impression for open letter counters, sharp edges, solid fills, and leakage before cutting and inking the full sheet.
Choose the right process, material, and consumables
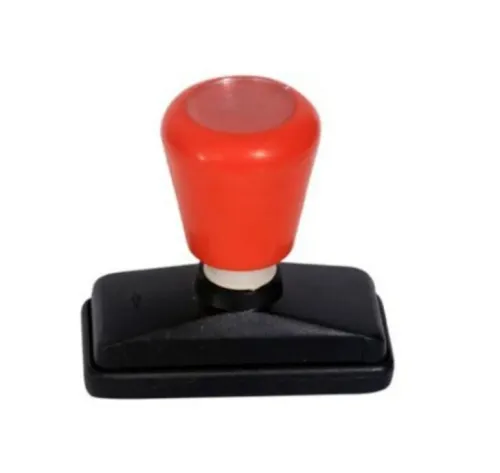
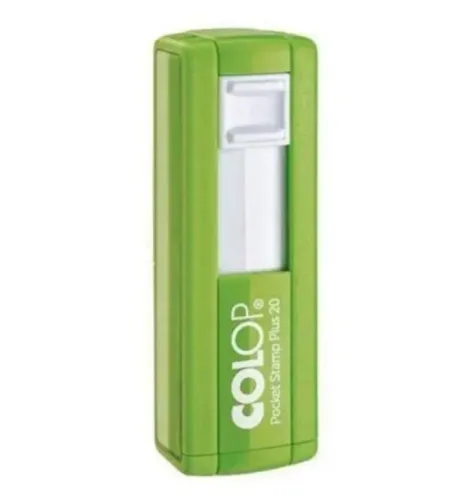
Choose the process by how the stamp holds ink: conventional rubber uses a separate ink pad, self-inking stamps carry a refillable pad inside the housing, while a pre-ink system stores ink in the porous stamp face.
| Process | How it forms the impression | Supplies required |
|---|---|---|
| Conventional rubber | A cut or engraved rubber die transfers ink from an external pad. | Rubber sheet, cutting or engraving equipment, handle, ink pad, stamp ink |
| Self-inking | A rubber or polymer die rotates onto an internal pad before contacting the document. | Die material, self-inking housing, replacement pad, compatible ink |
| Flash/pre-ink | A flash seals non-image areas of flash foam and leaves image areas porous for stored ink. | Flash foam, pre-ink, negative film, protective sheet, housing or handle |
A flash machine is not an engraving machine. Its result depends on flash energy, exposure time, material thickness, lamp distance, and a dense, correctly oriented negative. Ordinary pad ink can clog or damage the porous body; incompatible solvent ink can cause leakage or uneven colour.
Budget for the complete pre-ink stamp consumables, not only the machine:
- Flash foam or stamp film matched to the equipment
- Transparent artwork film, exposure sheets, and protective layers
- Manufacturer-approved pre-ink in the required colours
- Cleaning cloths, solvent where specified, and filling tools
- Replacement flash tubes, fuses, and power-backup equipment
Use conventional rubber for occasional sizes and varied ink choices. Choose self-inking for repeat office impressions with easy pad replacement. Choose pre-ink for compact, clean impressions when controlled filling and ink chemistry justify the extra preparation.
Turn exposure area and tube count into real production capacity
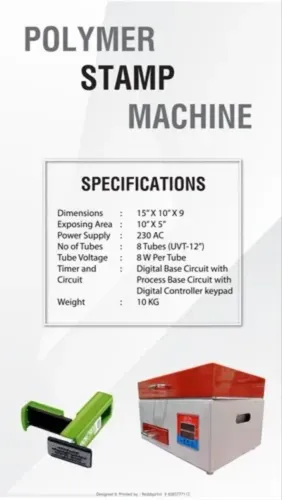
Treat exposure area as a work envelope, not a daily output figure. A 4 × 6 inch exposure area tells you the largest layout per pass; it does not tell you how many saleable stamps emerge per hour. Compare a one-tube versus two-tube stamp machine using the same artwork, sheet size, and fill quantity.
| Option | What to compare | Capacity implication |
|---|---|---|
| One tube | One lamp, its rated wattage, and exposure time | Lower connected load, but one failed tube stops exposure until flash tube replacement |
| Two tube | Whether tubes fire together or separately, plus total wattage | Faster area coverage only when both tubes reduce exposure time without creating uneven exposure |
| Either design | Voltage, nameplate watts, fuse rating, and circuit capacity | A higher-load machine needs suitable wiring or backup power; confirm this before installation |
Measure cycle time from film preparation through cutting, ink filling, housing assembly, impression testing, and packing. Include cleaning and the delay caused by overfilling, since leakage can turn a fast exposure into a slow rework job.
Run two trials: single-stamp sheets and a representative multi-stamp layout. Batching improves setup efficiency, but one alignment or exposure error can ruin every stamp on the sheet.
Ask Sun Graphics whether replacement tubes, reflectors, fuses, control boards, and consumables are stocked in Delhi NCR, then calculate stamp machine production capacity from accepted packed units per hour, not the advertised flash time.
Related products
 | Pre Ink Stamp Machine ₹13500 Sun Graphics is a supplier and dealer of Pre Ink Stamp Machines and flash stamp making systems in Delhi. View product → |
 | Flash Stamp Making Machine ₹8500 2 Tube Model The 2 Tube Flash Stamp Making Machine is a reliable and efficient solution for manufacturing high-quality flash stamps quickly and... View product → |
Test finished stamps before accepting a machine or process
Accept a machine only after a machine acceptance test using your actual artwork, not a bold demonstration sample. Include small fonts, fine logos, signatures, solid areas, reverse text, and dense multilingual text; these expose blocked details, weak text, mirror images, and unwanted ink leakage.
Run the same job at the recorded material thickness and exposure setting, then document:
- Time from film placement to a cut, filled, usable stamp
- Flash exposure setting, tube condition, and fill volume
- Impression darkness against an approved reference impression
- Edge sharpness, fine-line continuity, blocked areas, pinholes, and missing characters
- Ink leakage through the face, handle contamination, drying time, and first-impression paleness
- Impression consistency across repeated impressions until the stamp’s usable ink capacity is reached
Do not accept a pass based on one clean mark. Stamp impression testing should include fresh impressions, repeated impressions, and impressions after the stamp has rested. Overfilling creates leakage and long stabilization time; underfilling causes pale marks and early fading.
Use only the specified pre-ink, because ordinary pad ink or incompatible solvent ink can damage the microporous material.
| Test | Pass evidence | Reject evidence |
|---|---|---|
| Artwork transfer | Correct orientation, open image areas, readable small text | Reversed film, weak text, blocked detail |
| Repeated impressions | Consistent darkness and sharp edges | Rapid fading, spreading, or uneven marks |
| Ink containment | Dry face and clean handle | Ink leakage or staining |
| Production control | Repeatable settings and recorded cycle time | Operator-dependent results |
| Maintenance | Replaceable tube and available consumables | No practical replacement path |
Record the results in your pre-ink stamp quality control file and make every failed criterion a written acceptance condition.
Frequently asked questions
What is the complete pre-ink stamp production workflow?
Start with customer artwork, prepare a clean film, expose the stamp material, finish and ink the stamp, assemble it in its tube, and inspect the impression.
How do you prepare artwork for a readable pre-ink stamp?
Check the design at its final stamp size, remove fine details that will close up, use strong contrast, and confirm that text and lines remain legible on the stamp face.
How do you choose a pre-ink stamp process and consumables?
Compare the exposure method, stamp material, ink type, tube size, and finishing requirements as a matched set rather than selecting each item separately.
How do exposure area and tube count determine production capacity?
Capacity depends on the usable exposure area per cycle, exposure and handling time, and the number of tubes or finished stamp bodies available for assembly.
How should you test a finished pre-ink stamp?
Make repeated impressions on the intended paper and check letter edges, solid coverage, alignment, ink flow, and whether the impression remains clear after continued use.
Related products
 | Flash Stamp Making Machine Automatic (2 in 1 Model) ₹13500 Flash Stamp Making Machine Automatic (2 in 1 Model) – Heavy Duty Automatic Flash Stamp Making Machine – 2 in 1 Model The Automatic Flash Stamp Making... View product → |
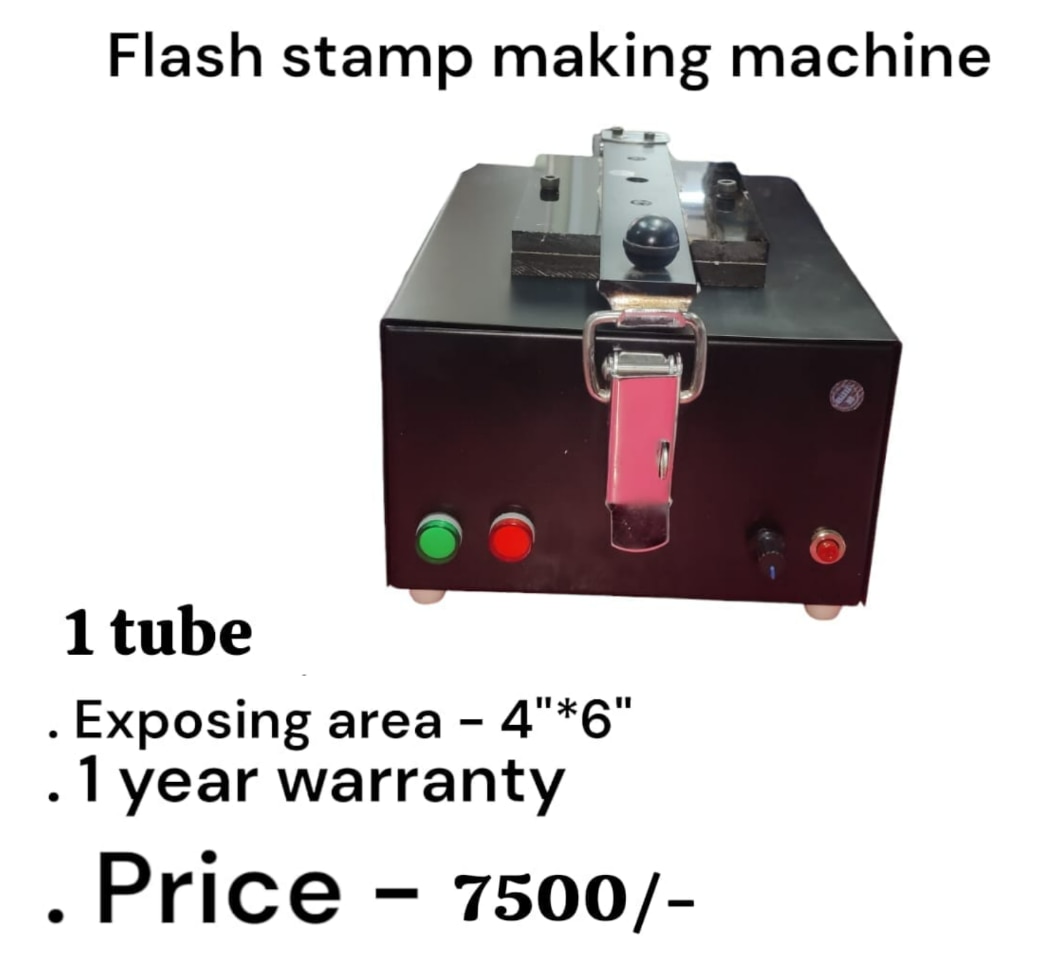 | Flash Stamp Making Machine Flash Stamp Making Machine 1 Tube Model ₹7500 Flash Stamp Making Machine (1 Tube) – Product Description Flash Stamp Making Machine – 1 Tube Model The 1 Tube Flash Stamp Making Machine is an... View product → |
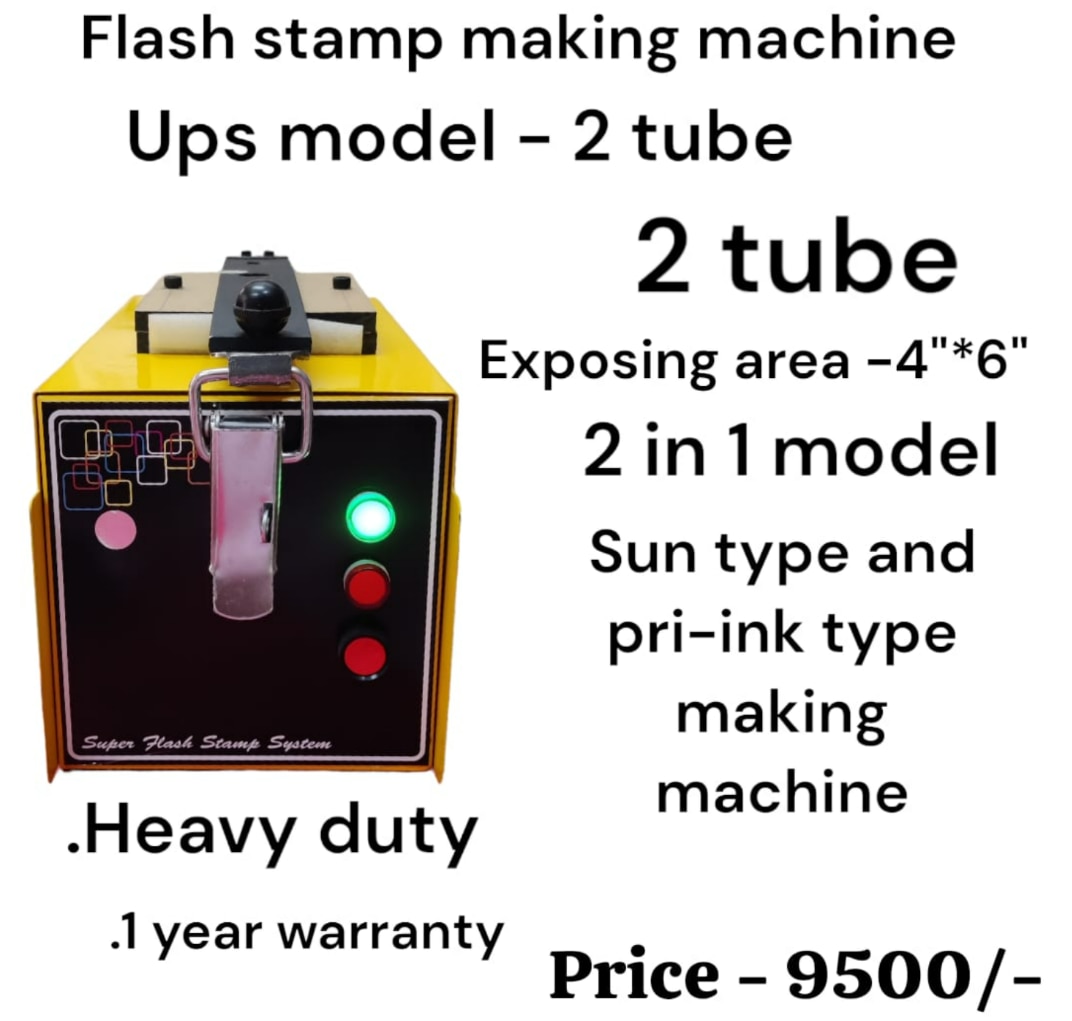 | Flash Stamp Making Machine Flash Stamp Making Machine (UPS Model – 2 Tube) ₹9500 Flash Stamp Making Machine (UPS Model – 2 Tube) Specification Details Product Name Flash Stamp Making Machine Model UPS Model – 2 Tube Type 2-in-1... View product → |