Starting a custom stamp business requires more than buying an exposure unit. You need to choose a production method, map every processing stage, calculate accepted stamps per day, and budget for materials, power, ventilation, rejects, and operator time. By the end, you will have a practical checklist for comparing equipment and deciding whether your expected orders justify the investment.
Key takeaways
- Choose photopolymer equipment before comparing machine models.
- Budget for film, exposure, washout, drying, and post-exposure.
- Match machine capacity to your largest expected stamp size.
- Calculate electrical load before installing the equipment.
Choose the Stamp-Making Process Before Choosing the Machine
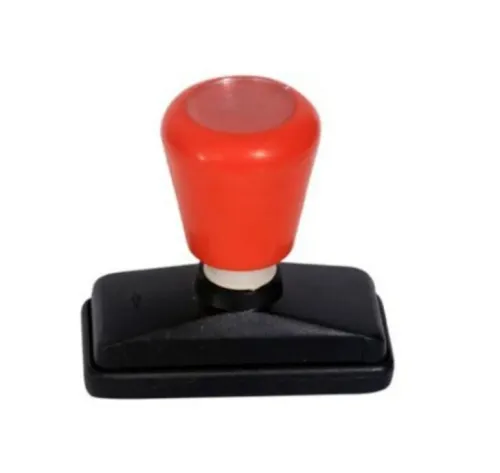
A new operator usually gets the safest start with a photopolymer rubber stamp making machine, because one setup can produce conventional rubber stamps in several sizes without buying a laser. Budget for negative-film preparation, back exposure, main exposure, washout, drying and post-exposure; one exposure step will not create a durable die.
| Method | Equipment and consumables | Best fit for a new business |
|---|---|---|
| Conventional rubber stamps | Photopolymer exposure unit, washout tray, dryer, polymer, film, mounts and ink; or a laser engraver with laserable rubber | Broadest customer demand and flexible sizes |
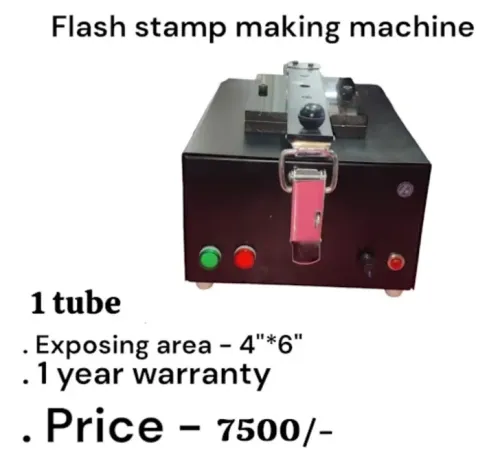
| Flash stamps | Flash stamp machine, flash foam, flash film, ink and dedicated bodies | Fast, clean text orders where customers accept a self-inking format |
| Pre-ink stamps | Pre-ink exposure or engraving equipment, pre-ink plate material, ink reservoir and matching housings | High-detail, refillable impressions with higher material and setup costs |
Do not treat PVC as laserable rubber. Chlorine-containing PVC can release corrosive hydrogen chloride during laser processing, so use a material supplier’s composition data and source-capture extraction; room air-conditioning is not ventilation. Photopolymer work also needs capture and controlled handling for cleaners, resin residue and wash water.
Mirror artwork before exposing or engraving a face-down die. A customer’s “finished” PDF can print backwards if you skip this check. Approve the mounted stamp by testing its actual impression, since plate depth, alignment, ink viscosity, paper and pressure can turn a sharp-looking plate into unreadable output.
Map the Complete Photopolymer Stamp Workflow
A finished photopolymer stamp comes from controlled artwork, exposure, washout, curing, mounting, and a real impression test—not from one ultraviolet exposure. Build the workflow around the point where a customer-approved file becomes an accepted stamp.
1. Check the stamp artwork preparation at actual size. Confirm spelling, line weight, border, and small counters in letters such as A, e, and R.
2. Mirror the approved design before output. Print it as a high-contrast mirrored negative film, because a non-mirrored film produces a reversed impression when the die prints face-down.
3. Clean the exposure glass, place the polymer, and press the film tightly against it. Air gaps, warped glass, or uneven vacuum contact create soft edges and different relief depths across one sheet.
4. Run the back exposure first. It establishes the relief base; too little produces weak shoulders, while too much reduces the usable relief.
5. Run the main exposure for the polymer, artwork density, and required relief depth. Excessive exposure closes narrow counters, while insufficient exposure leaves fragile letters that wear quickly.
6. Wash out the uncured polymer with the specified water, brush, or spray process. Remove residue without rounding fine characters, then rinse the plate clean.
7. Dry the plate completely and apply post-exposure. This hardens the remaining relief before you cut individual dies, trim flash, and mount each die onto a handle or holder.
8. Ink the stamp with the intended pad, make several impressions on normal paper, and inspect legibility, filled counters, missing strokes, edge definition, and alignment. Reject and remake a plate that fails the proof rather than shipping it.
Match Capacity, Stamp Size, and Electrical Load
A machine rated for 100 stamps per day is not automatically suitable for 100 customer orders. Size it against accepted finished stamps after artwork approval, exposure, washing, drying, cutting, mounting, testing, and rework.
Divide your expected daily volume by the hours available, then reserve at least 25% capacity for failed plates, urgent jobs, cleaning, and customer corrections.
| Equipment choice | Capacity implication | Best fit |
|---|---|---|
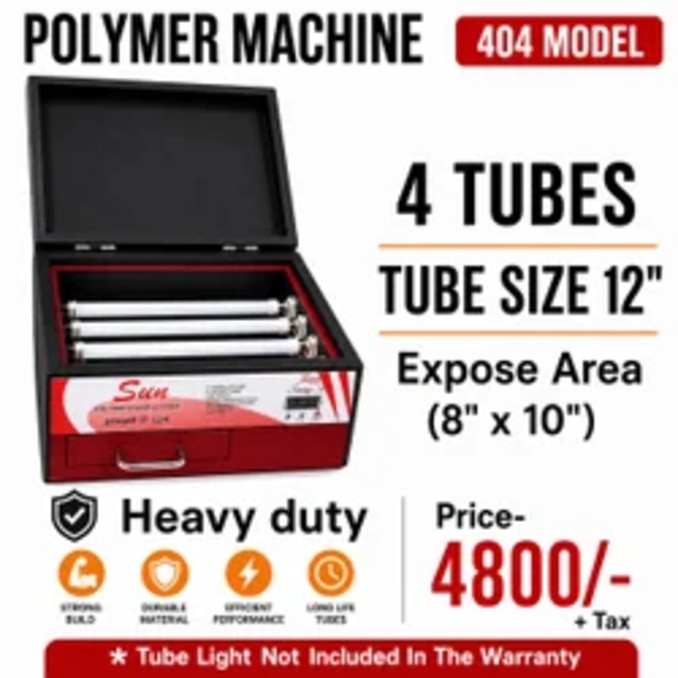
| One tube stamp machine | Lowest parallel exposure capacity; lowest space and electrical demand | Trial operation or a few small stamps per day |
| Two tube stamp machine | More throughput without a large footprint increase | Regular mixed-size orders handled by one operator |
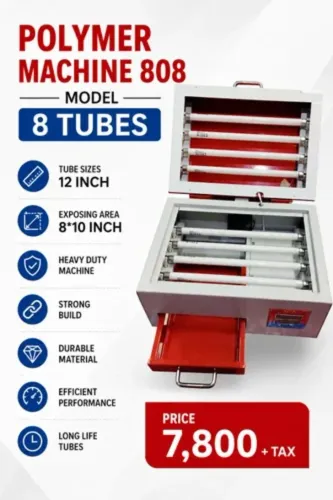
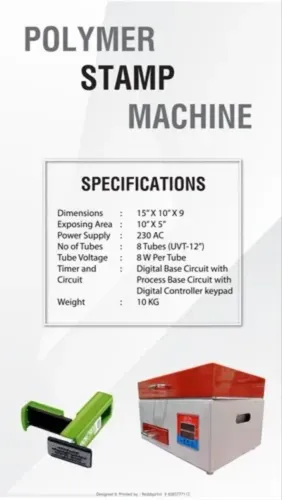
| Eight tube stamp machine | Faster batch exposure, with greater heat, load, and workspace demands | High daily volume using standardised sheets |
| Semi-automatic or automatic unit | Reduces handling time but adds service and power requirements | Repetitive production where labour is the bottleneck |
Confirm that the exposure bed fits your largest stamp layout, including spacing for cutting. A compact machine can still need separate benches for film preparation, washout, drying, trimming, mounting, and finished-goods testing.
Keep wet processing away from electronics and provide effective exhaust; never process PVC in a laser system because chlorine-containing fumes can form corrosive hydrogen chloride.
For Delhi NCR, obtain the connected load, single-phase or three-phase input, plug, earthing, voltage tolerance, stabiliser requirement, and exhaust outlet size before delivery. A laser’s wattage alone does not predict output: usable raster speed, focus repeatability, bed size, cleaning time, and exhaust capacity matter more.
Specify the Operating Details Suppliers Must Confirm
Ask the supplier to demonstrate a complete stamp, not just an exposure. Confirm adjustable exposure time, supported polymer thickness, maximum working area, UV tube replacement procedure, timer accuracy, cooling, and the curing distance between tubes and plate. An incorrect setting leaves soft shoulders, weak fine text, or brittle polymer.
Request these operating details in writing:
- Artwork format, negative-film density, and whether the unit requires mirrored artwork. A non-mirrored file creates a reversed impression.
- Washout method, brush or spray tools, drying temperature, recommended cleaning solvent, and disposal requirements for washout water.
- Compatible polymer sheets, rubber sheets, mounting foam, adhesive, ink, masking film, and carrier sheets. Ask for yield after spacing and setup margins, not the nominal A4 area.
- Cutting tools and plate dimensions for each stamp body. A self-inking die must match the carrier’s dimensions and pivot geometry; a poorly aligned die can hit the housing.
- Test criteria for sharp small text, solid areas, edge definition, ink transfer, and plate adhesion.
| Process | Confirm before purchase | Failure if mismatched |
|---|---|---|
| Photopolymer | Polymer thickness, exposure time, washout and curing settings | Soft plates, clogged counters, weak impressions |
| Laser rubber | Laserable rubber grade, exhaust filtration, ventilation and artwork settings | Burnt edges, odour, uneven depth |
| Self-inking | Die size, carrier geometry, pad compatibility and ink volume | Flooded text, housing strikes, incompatible replacements |
Build the Startup Budget Around Accepted Finished Stamps
A workable custom stamp business cost starts with the finished impression a customer accepts, not the machine’s exposure cycle. Calculate the cost per accepted stamp after mounting, inking and testing; a plate that looks correct under magnification still becomes waste if alignment, die depth, ink viscosity, paper absorbency or stamping pressure ruins the impression.
Include these costs in the budget:
- Machine, exposure tubes or laser, cutting tools, mounting jigs and initial setup
- Stamp-making consumables: polymer or laserable rubber, film, ink, cleaning solvent and washout water treatment
- Failed plates, rejected impressions, spoiled customer artwork and remake time
- Handles, self-inking bodies, pads, carriers and replacement blades
- Electricity, electrical backup, ventilation and exhaust-filter replacement
- Operator time for artwork correction, mirroring, exposure, washing, drying, cutting, mounting and testing
- Rent, worktables, packaging, delivery, software, maintenance and service downtime
- Customer proof delays and unproductive time between orders
Cost laser and photopolymer production separately. Laser systems consume rubber and filters; photopolymer systems add film, washout, drying and uncured-polymer disposal.
Sun Graphics can help you compare equipment specifications, but ask for service intervals, replacement-part prices and realistic output assumptions before treating a quoted machine price as the investment. Divide total monthly operating cost plus allocated equipment cost by accepted stamps, then compare that figure with your selling price.
If rejections and downtime are missing, the forecast is not financially workable.
Related products
 | Rubber Stamp Making Machin ₹7800 inimum Order Quantity: 1 Piece Product Brochure Machine Type Rubber Stamping Machine Automation Grade Semi-Automatic Usage/Application STAMP MAKING... View product → |
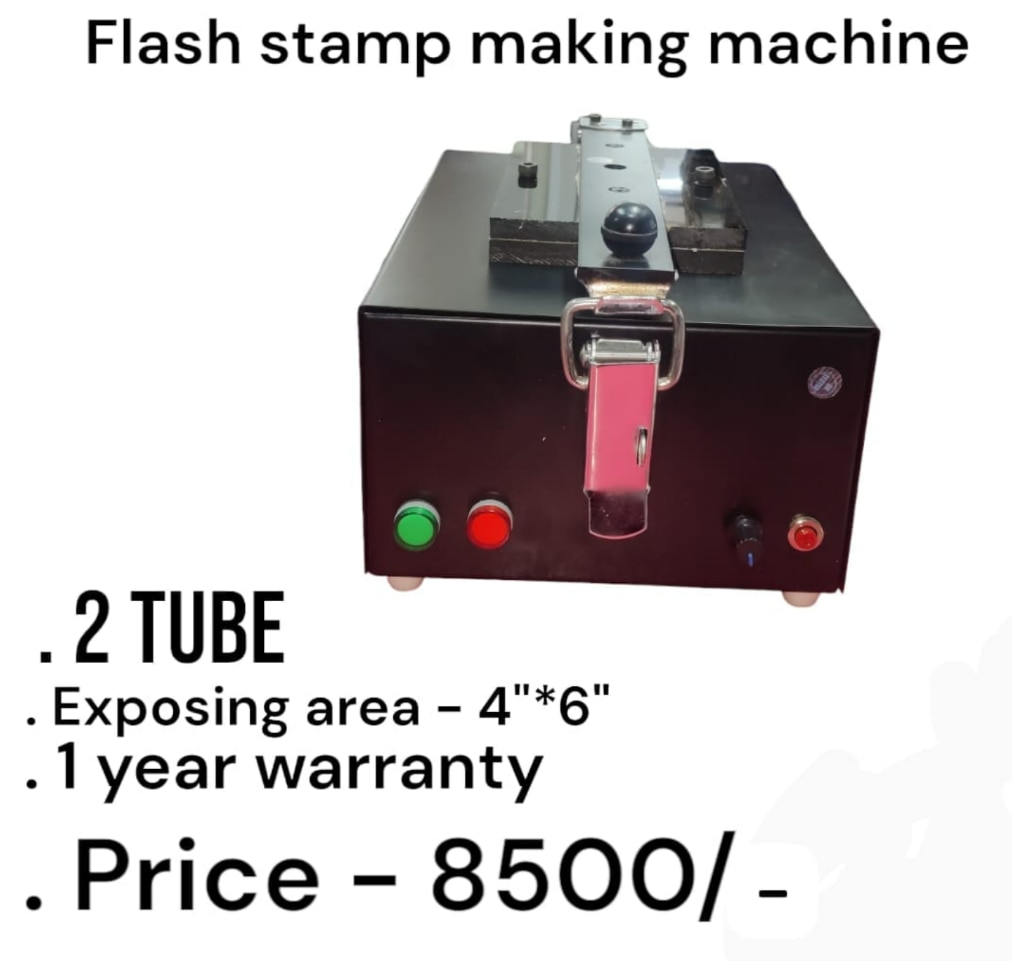 | Flash Stamp Making Machine ₹8500 2 Tube Model The 2 Tube Flash Stamp Making Machine is a reliable and efficient solution for manufacturing high-quality flash stamps quickly and... View product → |
Frequently asked questions
Which stamp-making process should a startup choose?
Photopolymer production is a practical starting process when you want conventional rubber stamps in multiple sizes without buying a laser.
What steps are required in a photopolymer stamp workflow?
Prepare the negative film, complete back exposure, main exposure, washout, drying, and post-exposure. One exposure step does not create a durable die.
What machine specifications should you compare?
Compare usable stamp size, batch capacity, cycle controls, power rating, voltage, current draw, and the electrical supply required at your premises.
What should a startup include in its stamp-making budget?
Budget around accepted finished stamps, including film preparation, polymer, consumables, washout and drying needs, labour, electricity, rejected pieces, and equipment.
Related products
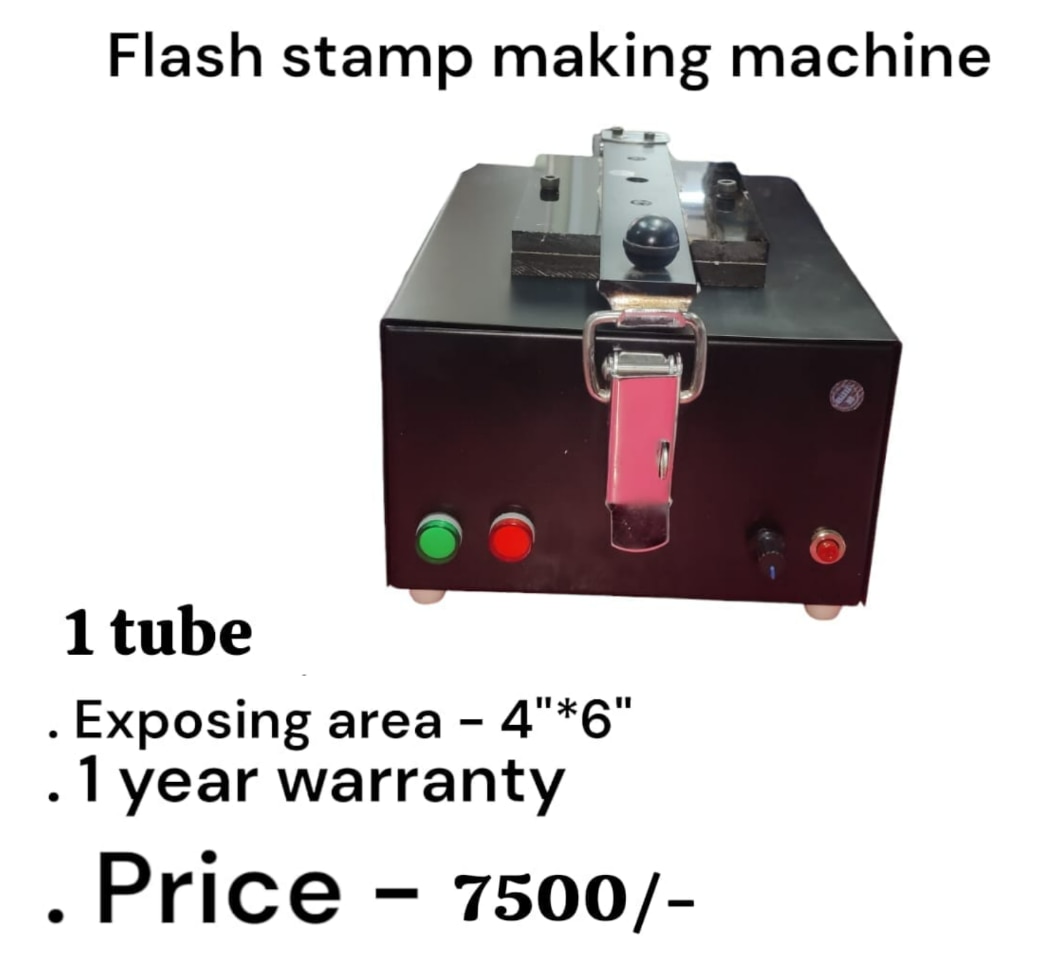 | Flash Stamp Making Machine Flash Stamp Making Machine 1 Tube Model ₹7500 Flash Stamp Making Machine (1 Tube) – Product Description Flash Stamp Making Machine – 1 Tube Model The 1 Tube Flash Stamp Making Machine is an... View product → |
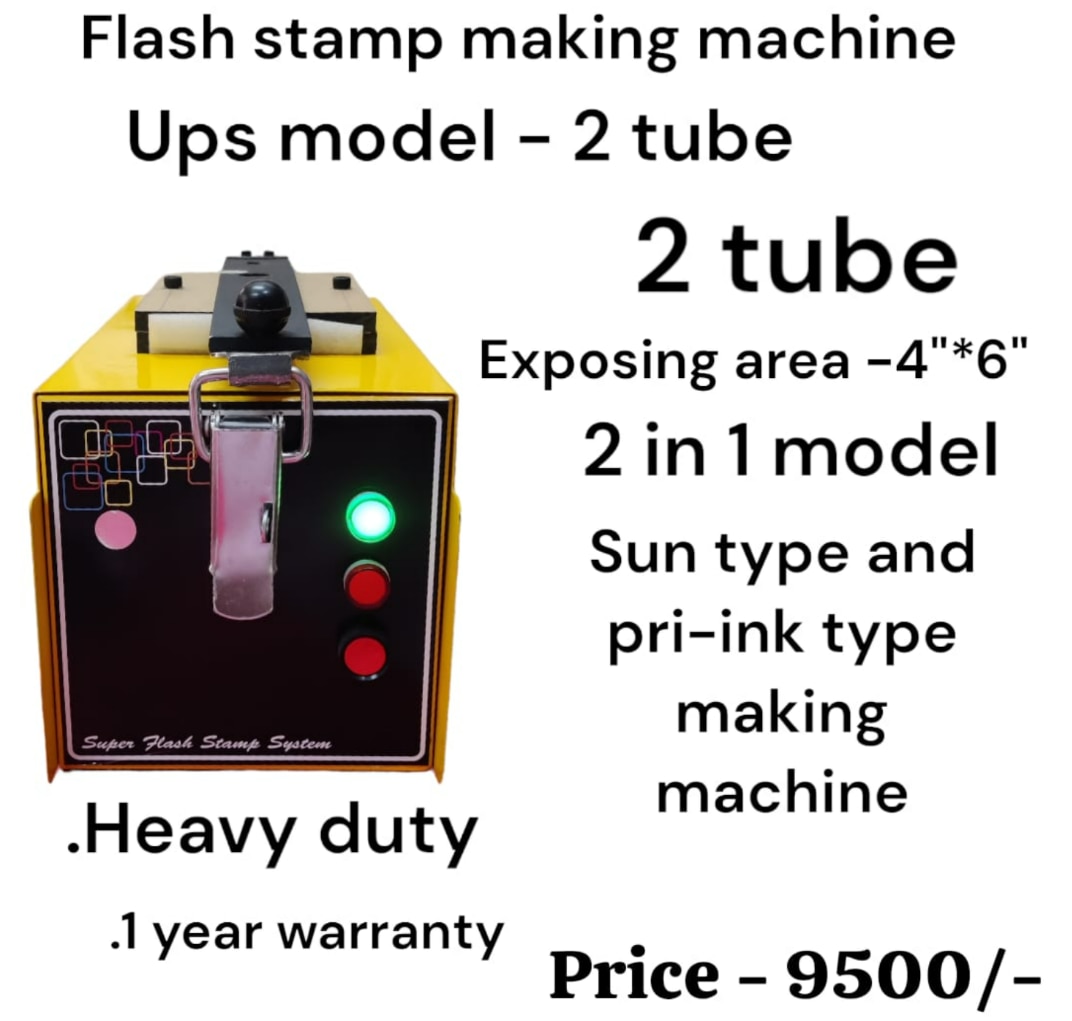 | Flash Stamp Making Machine Flash Stamp Making Machine (UPS Model – 2 Tube) ₹9500 Flash Stamp Making Machine (UPS Model – 2 Tube) Specification Details Product Name Flash Stamp Making Machine Model UPS Model – 2 Tube Type 2-in-1... View product → |
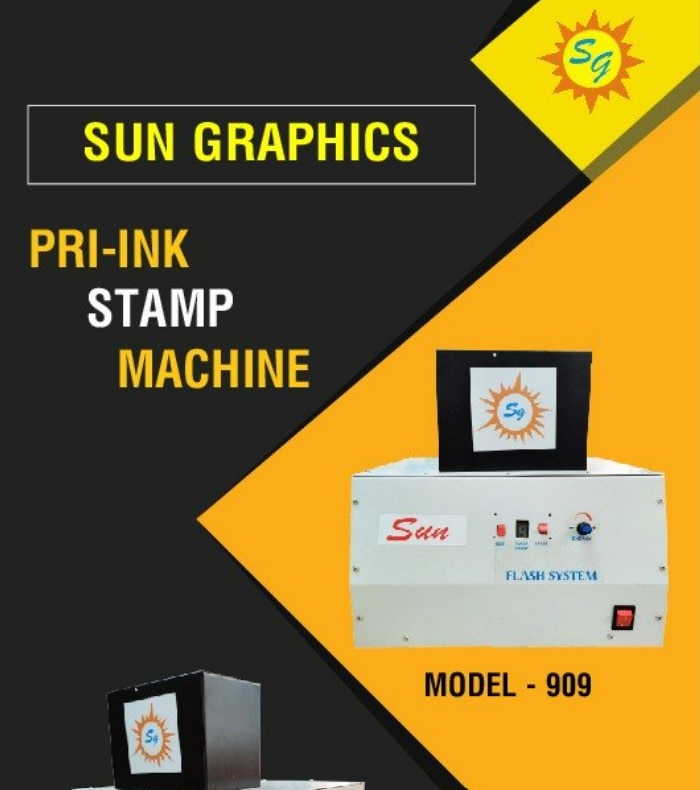 | Pre Ink Stamp Machine ₹13500 Sun Graphics is a supplier and dealer of Pre Ink Stamp Machines and flash stamp making systems in Delhi. View product → |
 | Flash Stamp Making Machine Automatic (2 in 1 Model) ₹13500 Flash Stamp Making Machine Automatic (2 in 1 Model) – Heavy Duty Automatic Flash Stamp Making Machine – 2 in 1 Model The Automatic Flash Stamp Making... View product → |