A machine that exposes a plate quickly can still miss your delivery target if artwork preparation, curing, trimming, assembly, and inspection consume the shift. Start with your order mix and finished stamps per shift, then test the complete workflow, material, ink, and operator workload before comparing machine configurations.
Key takeaways
- Size the machine by finished stamps per shift, not advertised cycle time.
- Include washout, drying, curing, assembly, inspection, packing, and changeovers.
- Compare production technology before comparing exposure area or tube count.
- Run a timed buyer’s test using your artwork, materials, and complete workflow.
Convert Your Order Book into a Finished-Stamp Capacity Requirement
Do not size a machine from its advertised exposure or engraving cycle. Size it from finished stamps per shift after artwork preparation, material loading, exposure or engraving, washout, drying, post-curing, trimming, handle assembly, inspection, test impressions, packing, and job changeovers.
1. Review at least three months of orders. Record peak daily volume, repeat orders, rush orders, average stamp size, designs per order, and your acceptable turnaround time. Separate standard work from oversized, detailed, or unusual jobs.
2. Convert demand into a target rate. Divide the required finished stamps by productive minutes available, then multiply for breaks, cleaning, setup, and rework. This produces the stamps per hour your process must sustain, not the machine’s brochure speed.
3. Calculate finished stamps per shift by subtracting warm-up, cooling, drying, maintenance, and changeover time from the shift. Include the slowest stage: trimming, mounting, fitting self-inking bodies, drying ink, inspection, or packing can limit output after plate production.
4. Assign the number of operators and test the workload at peak volume. Record how many interventions each batch needs, how quickly operators change jobs, and whether one person can prepare artwork while another runs the machine. Compare this capacity with daily demand and the turnaround promise.
Approve capacity only after a trial using your own artwork, rubber or polymer, ink, stamp bodies, and substrates. Check repeatability across the bed, fine-detail retention, plate flatness, odor or fume control, changeover time, and interventions per batch; supplier samples do not prove your production rate.
Choose the Production Technology Before Comparing Tube Counts
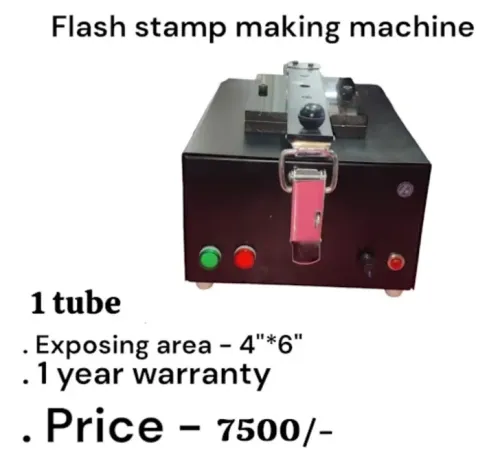
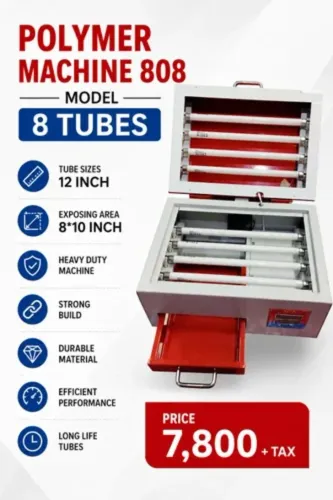
Choose the process from your order mix before comparing tube counts. A one-tube machine fits modest, varied work; a two-tube machine suits a steadier flow; an eight-tube machine only pays off when demand keeps multiple operators or shifts occupied. More tubes do not fix slow trimming, assembly, or drying.
| Technology | Choose it when | Main constraint |
|---|---|---|
| Flash stamp production | You need short-run self-inking stamps with minimal plate-making steps. | Compatible porous flash material, uniform exposure, lamp condition, foam thickness, and ink compatibility determine edge quality and storage life. |
| Laser engraving | Jobs change frequently, include logos or unusual sizes, and require flexible small-batch production. | Use only approved laser rubber; PVC and other chlorine-containing materials can release hazardous corrosive gases. |
| Photopolymer | You need economical custom plates for varied artwork and moderate repeat orders. | Account for exposure, washout, drying, post-curing, and plate finishing. |
| Vulcanizing | Repeat designs generate enough volume to spread die, mould, and setup costs. | Setup becomes expensive for one-off work and frequent design changes. |
| Pre-inked stamps | Users need compact stamps with many impressions before re-inking. | Test the actual ink and porous material for drying, swelling, transfer, and impression life. |
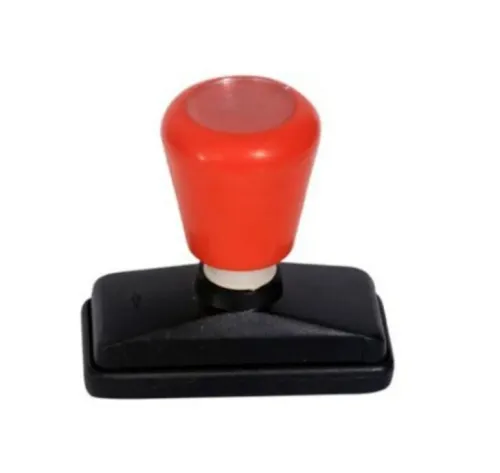
| Self-inking stamps | Customers need rapid, clean impressions from an integrated return mechanism. | Handle fitting, alignment, and assembly can become the bottleneck. |
| Outsourcing | Volume is low, rushes are rare, or designs vary too widely to justify equipment. | You trade machine investment for supplier lead time and less process control. |
Measure finished stamps per shift, not exposure or engraving cycles. Include artwork preparation, loading, changeovers, inspection, packing, and assembly before selecting a one-tube machine or a larger platform.
Check the Real Size, Artwork, Material, and Safety Limits
Start with the largest and smallest jobs in your order book. Confirm the machine’s maximum stamp area and minimum stamp area, then compare both with the 4 × 6 inch exposure area or other stated exposure field; a large plate may require tiling, while a tiny plate can waste material or lose alignment.
Check the maximum plate thickness before approving mounts, bases, and assembled stamp bodies.
Send production artwork, not a sample logo alone. Test logos, signatures, seals, multilingual text, reverse lettering, fine rules, solid areas, and halftones. Record the minimum line thickness and smallest readable text that remain sharp after exposure, cutting, cleaning, and inking.
- Ask for a test matrix covering plate size, relief depth, exposure time, lamp age, and rubber durometer.
- Match the actual ink to the material: water-based, oil-based, solvent, archival, and quick-dry inks can swell, soften, dry out, or attack rubber.
- For laser equipment, approve only laser-rated elastomer sheets; reject PVC or other chlorine-containing material unless the supplier’s safety data sheet confirms suitability.
- Inspect the laser exhaust plan, including fume capture, ducting, filtration, make-up air, interlocks, and filter-change intervals.
| Limit | What to verify | Failure if ignored |
|---|---|---|
| Exposure field | Artwork fits the full field | Cropped or uneven stamps |
| Rubber durometer | Material matches ink and relief | Swelling or weak impressions |
| Laser exhaust | Capture and filtration meet the installation | Unsafe fumes and lost uptime |
| Power settings | Speed, power, frequency, and depth are tested | Charred edges or incomplete relief |
Map Every Workflow Step and Calculate the Bottleneck
Calculate capacity from the slowest complete stage, not the advertised exposure or engraving cycle. Use this formula: finished stamps per shift = available minutes ÷ minutes per batch × stamps per batch. Subtract warm-up time, recovery time, breaks, cleaning, and changeover time before calculating.
1. Record artwork preparation, including positive film or transparency creation, and count operator minutes per job. For photopolymer work, add exposure time, cooling time, washout, drying, and post-curing.
2. Measure material handling and finishing separately: trimming, ink loading, handle assembly, test impressions, inspection, and packing. A fast plate-making stage does not increase output if one operator cannot mount, test, and pack the plates.
3. Time each stage across a representative batch using your actual rubber or polymer, ink, stamp bodies, and substrates. Record interventions, rejected impressions, and the number of pieces completed, not merely the machine’s displayed cycle.
4. Divide each stage’s available shift minutes by its batch time. The lowest result is the bottleneck; compare plate-making capacity with handle assembly capacity before choosing a larger machine.
Sun Graphics can help you compare tube count against the less visible constraints: manual washout, drying space, operator loading, and changeover time.
5. Recalculate for rush orders and mixed sizes. A machine that produces 100 identical plates per shift may produce far fewer finished stamps when artwork changes, ink loading repeats, or inspection catches inconsistent impressions. Balance the line rather than buying speed at one stage.
Related products
 | Rubber Stamp Making Machin ₹7800 inimum Order Quantity: 1 Piece Product Brochure Machine Type Rubber Stamping Machine Automation Grade Semi-Automatic Usage/Application STAMP MAKING... View product → |
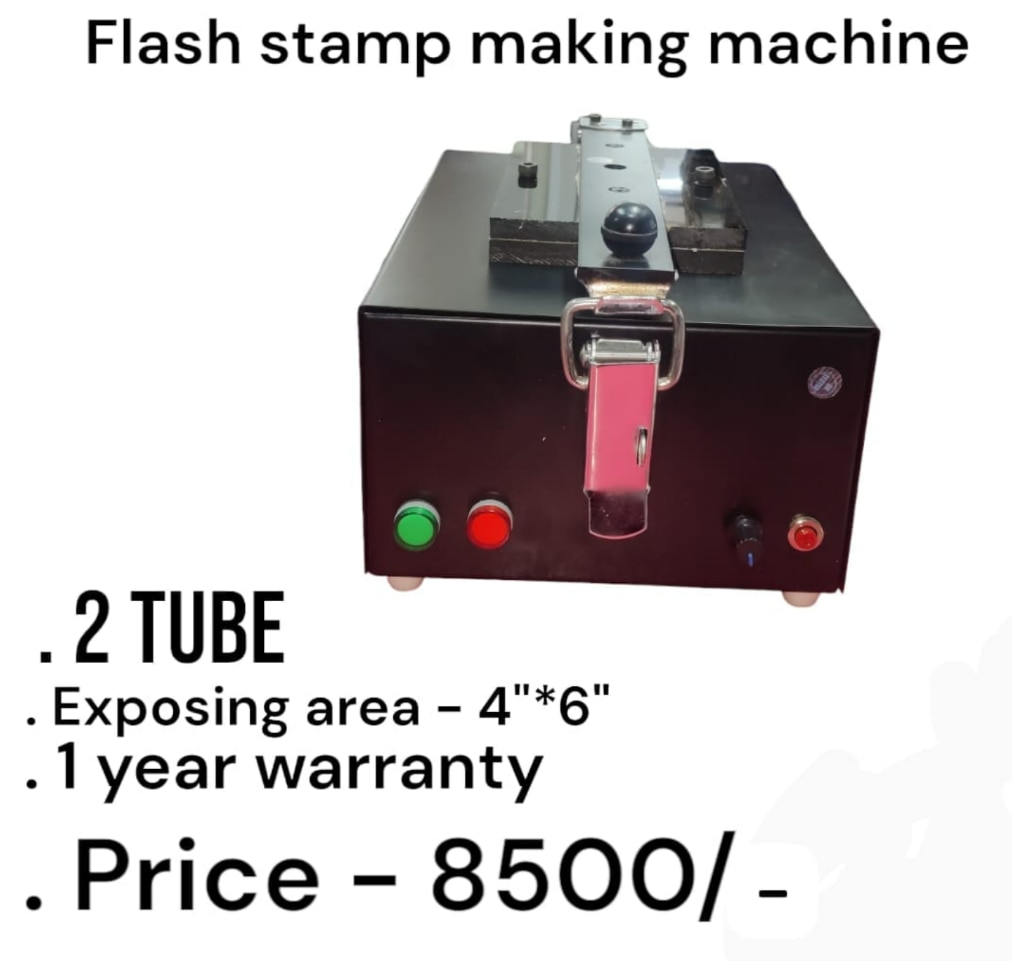 | Flash Stamp Making Machine ₹8500 2 Tube Model The 2 Tube Flash Stamp Making Machine is a reliable and efficient solution for manufacturing high-quality flash stamps quickly and... View product → |
Use a Buyer’s Test Instead of an Advertised Cycle Time
Require a commissioning acceptance test before purchase sign-off. Run it with the buyer’s own artwork, actual rubber or polymer, production ink, stamp bodies, and target substrates. Supplier samples made with a different material combination prove little; they can hide failures in transfer, drying, or impression life.
- Test ink and substrate compatibility by checking transfer, swelling, drying time, chemical attack, and impression density. Approve the material platform only after the complete combination survives repeated impressions.
- Include fine text, reversed text, thin rules, solids, halftones, logos, and large inked areas. Record relief depth, minimum feature size, plate flatness, edge quality, and exposure uniformity across the usable bed area.
- Run repeated batches with different nesting layouts. Measure finished stamps per shift, repeatability, changeover time, and the number of operator interventions per batch, including loading, cleaning, trimming, and inspection.
- For laser equipment, require a matrix covering speed, power, frequency or pulse settings, rubber formulation, relief depth, and positive and reversed text sizes. Check charring, roughness, incomplete cutting, and widened strokes.
- Accept the machine only after observing odor or fume control, enclosure interlocks, duct routing, filtration, make-up air, filter replacement frequency, and recovery time. Frequent filter changes can erase the advertised cycle-time advantage.
Write these measurements into the commissioning record, with pass/fail limits and a remedy for each failure. A machine that meets a brochure cycle but misses impression quality or requires constant intervention is not production capacity.
Frequently asked questions
How do you calculate the required rubber stamp machine capacity?
Convert your order book into finished stamps per shift, then include artwork preparation, loading, exposure or engraving, washout, drying, post-curing, trimming, assembly, inspection, test impressions, packing, and changeovers.
Which production technology should you choose for rubber stamps?
Choose between technologies such as photopolymer exposure and laser engraving based on your stamp volume, artwork, material requirements, workflow, finish, and operator tasks before comparing tube counts.
What machine limits should you check before buying?
Check the usable stamp area, artwork detail, supported materials, maximum job dimensions, plate thickness, handle formats, safety features, and any ventilation or chemical-handling requirements.
How can you identify the bottleneck in a stamp-making workflow?
Map every step from artwork preparation through packing, record the time and queue at each stage, and size the system around the slowest step rather than the machine’s headline cycle.
How should you test a rubber stamp making machine before purchase?
Run your own artwork, materials, sizes, and complete production sequence while timing loading, processing, washout, curing, trimming, assembly, inspection, and changeovers.
Related products
 | Flash Stamp Making Machine Automatic (2 in 1 Model) ₹13500 Flash Stamp Making Machine Automatic (2 in 1 Model) – Heavy Duty Automatic Flash Stamp Making Machine – 2 in 1 Model The Automatic Flash Stamp Making... View product → |
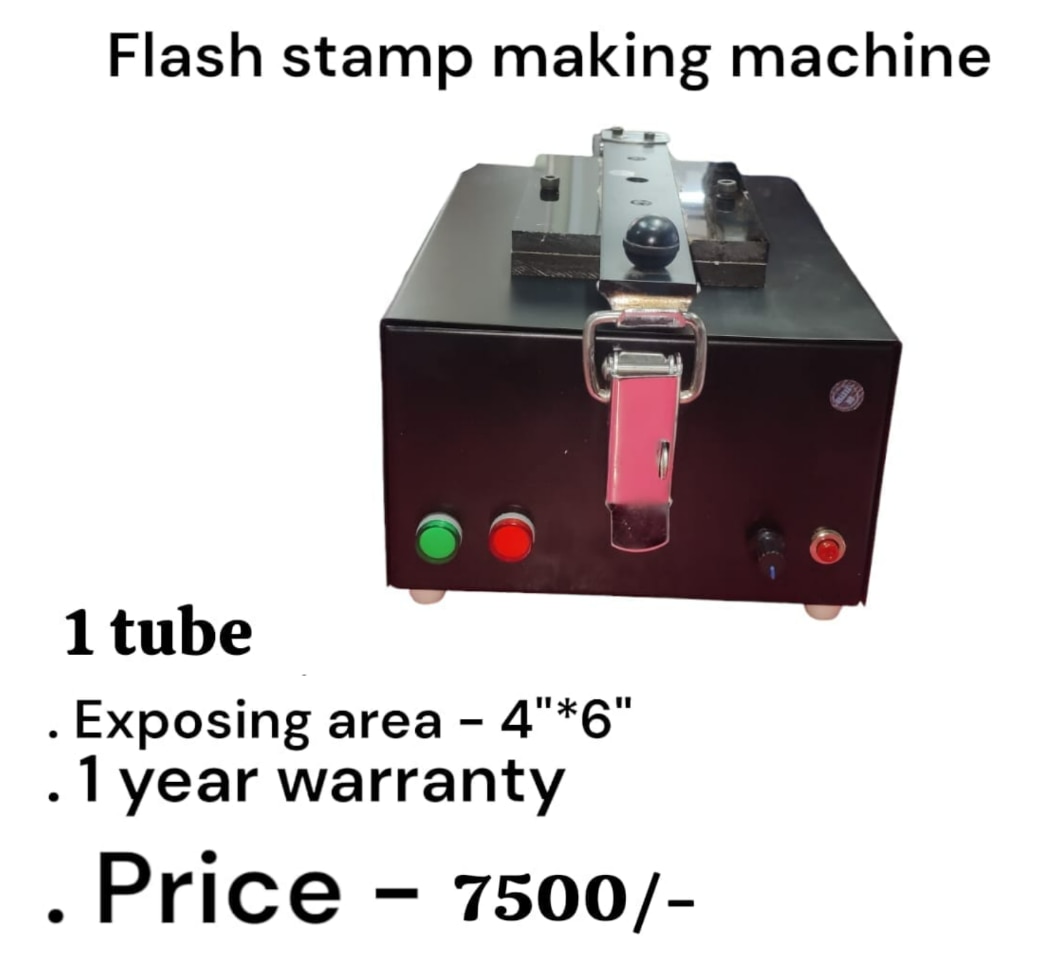 | Flash Stamp Making Machine Flash Stamp Making Machine 1 Tube Model ₹7500 Flash Stamp Making Machine (1 Tube) – Product Description Flash Stamp Making Machine – 1 Tube Model The 1 Tube Flash Stamp Making Machine is an... View product → |
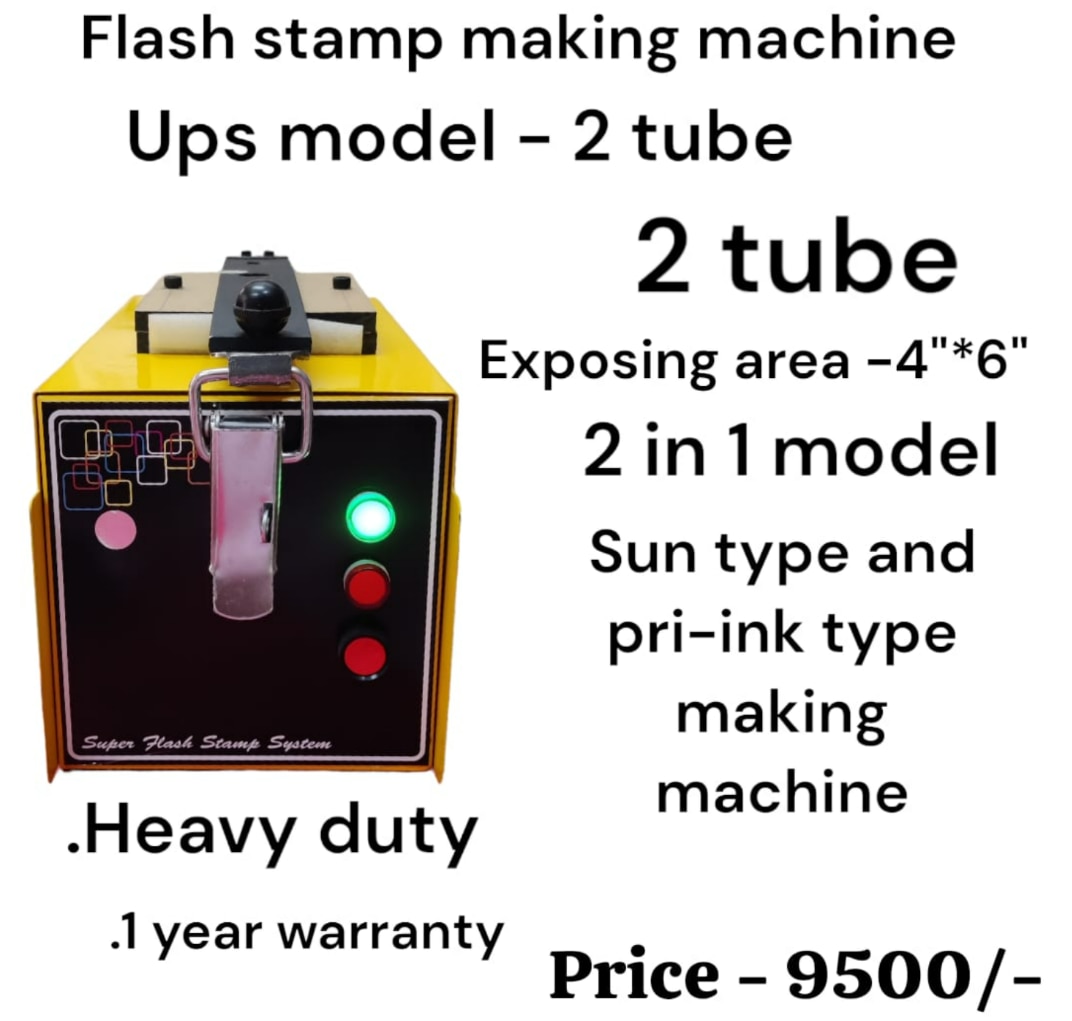 | Flash Stamp Making Machine Flash Stamp Making Machine (UPS Model – 2 Tube) ₹9500 Flash Stamp Making Machine (UPS Model – 2 Tube) Specification Details Product Name Flash Stamp Making Machine Model UPS Model – 2 Tube Type 2-in-1... View product → |
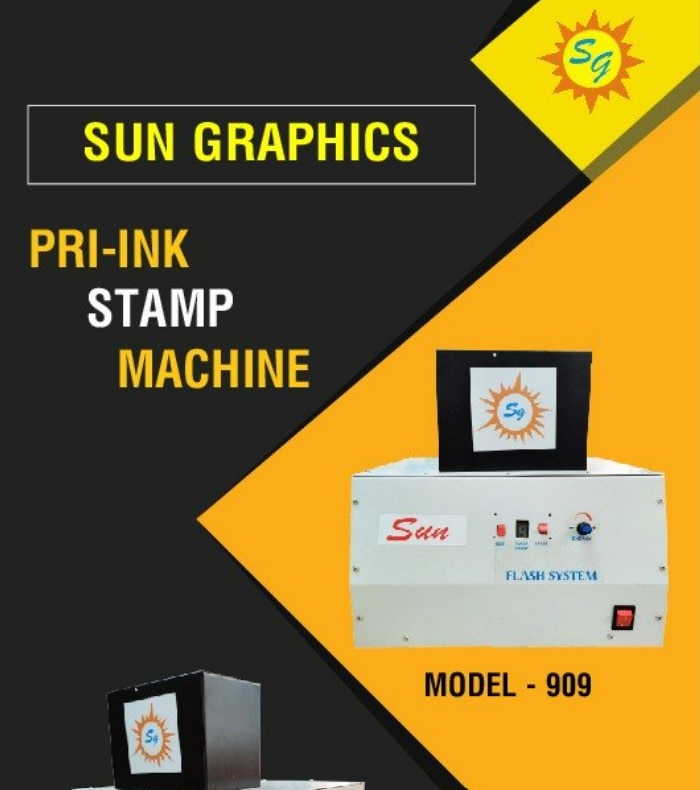 | Pre Ink Stamp Machine ₹13500 Sun Graphics is a supplier and dealer of Pre Ink Stamp Machines and flash stamp making systems in Delhi. View product → |