The right machine depends on more than the number of exposure tubes or an advertised cycle time. You need to match daily order volume, stamp sizes, artwork detail, operator time, consumable costs, electrical requirements, and quality controls before comparing models. By the end, you can test a machine, estimate its real capacity, and calculate whether its purchase price is justified.
Key takeaways
- Calculate completed mounted stamps per hour, not flash time.
- Choose one or two tubes based on batch size and exposure bottlenecks.
- Include masking, cooling, cutting, mounting, and ink charging in workflow time.
- Check electrical load, safety controls, repeatability, and maintenance costs before purchase.
Which machine configuration fits your orders, workspace, and operator time?
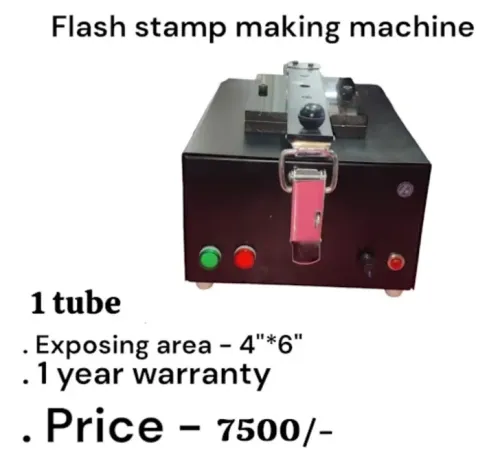
Choose by completed, mounted stamps per hour—not the lamp’s stated flash time. A 1-tube flash stamp machine suits low-volume, varied orders in a small workspace; a 2-tube flash stamp machine reduces exposure bottlenecks when batches grow. Include loading, masking, cooling, cutting, handle fitting, and ink charging in your calculation.
| Option | Best fit | Production warning |
|---|---|---|
| 1-tube | Small batches, one operator, limited space | Slow when designs change frequently |
| 2-tube | Regular batches and higher daily volume | Needs more bench space and power |
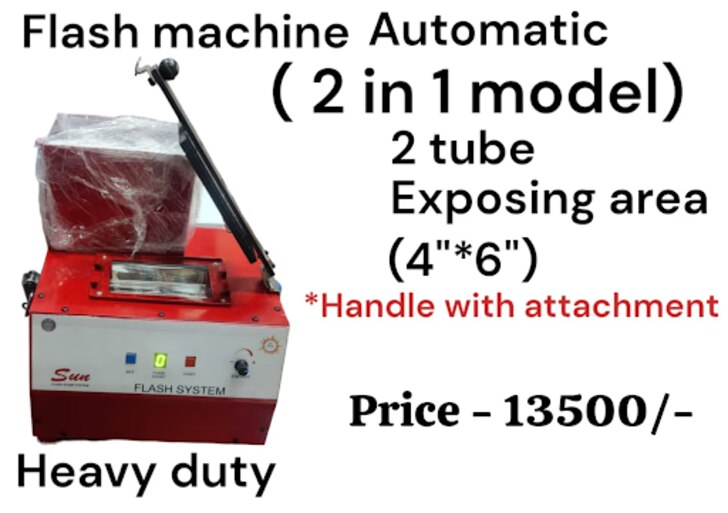
| 2-in-1 machine | Two related production functions or flexible job sizes | Confirm what the second function performs and whether changeovers consume time |
| Automatic flash stamp machine comparison | Repeated layouts, fewer manual steps, consistent operator output | Check which tasks are truly automatic; cutting and mounting may remain manual |
| UPS | Areas with voltage dips or brief outages | It protects continuity, not exposure capacity; verify wattage, battery runtime, and recharge time |
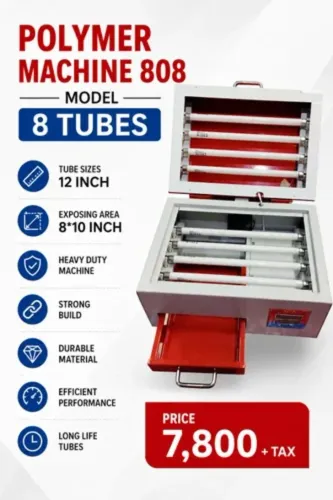
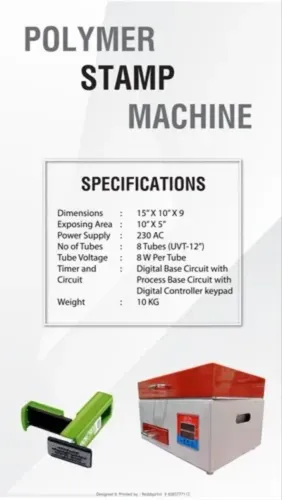
| 8-tube | High-volume, repeat production | Requires substantial space, ventilation, electrical capacity, and a steady order pipeline |
A 4 × 6 inch exposure area limits each layout: arrange several small stamps on one sheet, but reserve margins for cutting and mounting. Estimate output as stamps per layout × usable cycles per hour × operators, then subtract rejects and handling delays.
A smaller unit with compatible trimming or mounting fixtures can outperform an 8-tube machine that leaves every stamp to hand-cutting. Test the actual negative, foam, and artwork process before comparing purchase prices.
What must happen between artwork preparation and a finished stamp?
A machine is only as useful as the workflow around it. Map the route from the customer’s file to a mounted, inked stamp, then test every material in that route before buying.
1. Prepare artwork with solid black areas, clear edges, and lettering sized for the foam’s usable cell structure. Do not rely on a printer’s 600 or 1,200 dpi claim; tiny type can close up after artwork gain and exposure.
2. Output a genuinely opaque negative film. Compare your own positive and negative film process, checking toner density, inkjet dye bleed, dust, and pinholes. A translucent negative creates partly open cells that leak ink or produce dirty impressions.
3. Place the negative and flash foam flat against the exposure surface, mask unused areas, and expose with a repeatable recipe. Test each foam thickness, formulation, negative material, and intended ink because pulse time changes with the combination.
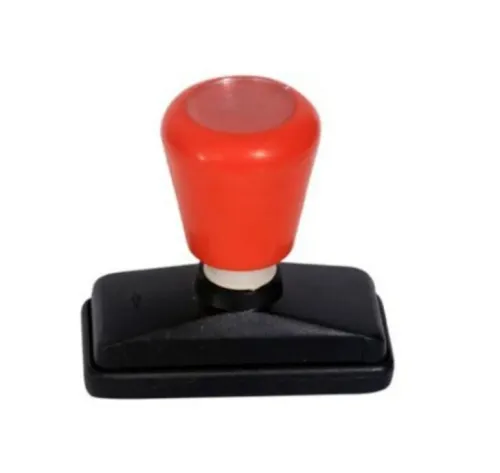
4. Cut the exposed sheet, separate individual designs, fit each stamp to its handle or mount, and charge it with ink. Include cooling, resetting, cutting, and mounting time when estimating output; flash-cycle time alone exaggerates capacity.
5. Confirm whether the finished product uses pre-ink stamp materials or requires washing, curing, or another finishing step. A “flash” workflow that adds manual treatment can erase the time saving.
6. Price standard flash foam, film, ink, trays, lamps, and mounting components against proprietary alternatives. Check shelf life, minimum order quantities, and lead times. A machine that accepts only locked consumables can cost more per finished stamp than its purchase price suggests.
Which exposure and electrical specifications determine usable capacity?
Usable capacity depends on uniform light dose, controllable exposure time, and the number of plates you can load safely per cycle—not lamp wattage alone. A 4 × 6 inch exposure area may hold several small stamps, but it limits the maximum single plate and demands reliable masking when part of the platen is unused.
| Measurement | What to check | Production implication |
|---|---|---|
| Exposure area | Confirm the usable platen size, not the outside cabinet dimensions | Determines the largest stamp plate and how many small stamps fit in one batch |
| Exposure time | Look for repeatable, fine-grained adjustment and stored recipes | Different foam thicknesses, negative materials, and inks need different pulse durations |
| Lamp wattage and optics | Check spectral output, reflector design, platen-to-film distance, cooling, and dose across the platen | High wattage cannot prevent weak edges or an overexposed centre when optics are poor |
| Uniformity | Request an exposure uniformity test across corners, centre, and edges, followed by several consecutive cycles | Uneven density creates stamps with inconsistent detail and increases rejected batches |
| Electrical load | Obtain voltage, phase, current draw, earthing, breaker size, and overcurrent protection requirements | A circuit that is too small trips during production or creates a fire risk |
| Guards and controls | Verify interlocks block a flash when the enclosure is open | Prevents eye and skin exposure during loading or servicing |
Estimate capacity from exposure time plus loading, unloading, cooling, and plate handling. After batching, run the calculation again with realistic operator time; a larger batch is not faster if alignment and flatness checks slow every cycle. Ask for repeatability after warm-up, lamp-replacement instructions, and a maintenance procedure covering lamps, capacitors, reflectors, and cooling.
Use ISO 12100 as a framework for reviewing the complete installation.
How do you verify stamp quality, operator safety, and repeatability before purchase?
Require a full-size negative and a production sample before purchase. A machine that succeeds on a small test can still show weak edges, hot spots, or uneven foam opening at its advertised maximum size.
1. Run a fine-text test stamp with thin strokes, small counters, and solid areas. Inspect the finished stamp for underexposure, which leaves closed or shallow detail, and overexposure, which rounds fine edges and opens unwanted areas.
2. Repeat the test across the platen: centre, corners, and long edges. Compare impression depth and detail under identical settings; darker centres or weaker edges reveal poor exposure uniformity.
3. Check contact by placing the negative and foam flat, closing the platen, and inspecting for gaps, bowed surfaces, or movement. Poor contact creates blurred, incomplete, or inconsistent characters.
4. Run several consecutive cycles after the machine reaches normal operating temperature. Record pulse settings and results; output drift points to unstable lamps, capacitors, reflectors, or cooling.
5. Test every control, timer increment, stored recipe, emergency stop, and cycle indicator. A control that resets, skips a setting, or starts unpredictably is a production risk.
6. During installation, verify the electrical rating, dedicated earthing, overcurrent protection, ventilation, heat clearance, and lamp-replacement procedure. Confirm that guards and interlocks prevent a flash with the enclosure open, then document UV exposure safety using an ISO 12100 risk assessment.
Reject a machine that cannot provide these tests, written installation requirements, and repeatable results across the working area.
What is the real cost of owning a flash stamp machine?
A machine’s purchase price is only the starting point for the cost per finished stamp. Add flash stamp consumables, labour, electricity, rejected plates, maintenance, freight, and downtime over 12 months; divide the total by saleable stamps, not exposed blanks.
| Cost area | Compare | What can go wrong |
|---|---|---|
| Consumables | Standard flash foam and film versus proprietary foam, cartridges, trays, lamps, or mounts; unit price, minimum order, shelf life, and lead time | A cheap machine becomes expensive when one supplier controls replenishment. |
| Maintenance | Tube replacement price, cleaning, cooling-system service, and common spare availability | A failed lamp or capacitor stops production while parts are unavailable. |
| Support | Warranty and after-sales support, installation, training, response time, and written exclusions | You pay for diagnosis, travel, or downtime outside a narrow warranty. |
Ask Sun Graphics for a written five-year ownership estimate based on your daily volume, operator minutes per stamp, replacement parts, and service visits. Request a test using your own film output: toner bleed, pinholes, or translucent film can create rejects that inflate the real cost.
Treat the supplier as part of the buying decision when the machine needs proprietary inputs, remote troubleshooting, or imported spares. Before signing, confirm who stocks tubes and lamps, the quoted delivery time, the tube replacement procedure, and whether support covers installation and repeated-cycle faults.
Run those costs against your expected monthly output before choosing the lowest machine price.
Related products
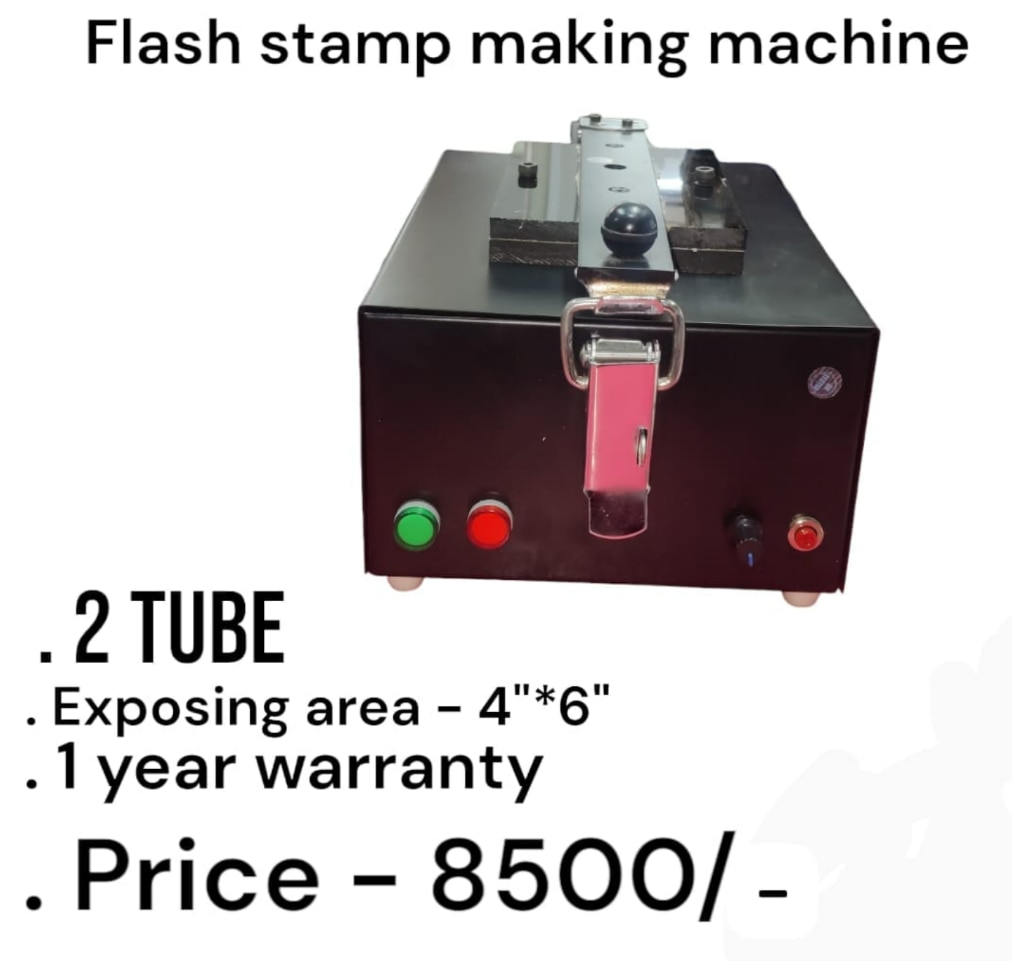 | Flash Stamp Making Machine ₹8500 2 Tube Model The 2 Tube Flash Stamp Making Machine is a reliable and efficient solution for manufacturing high-quality flash stamps quickly and... View product → |
 | Flash Stamp Making Machine Automatic (2 in 1 Model) ₹13500 Flash Stamp Making Machine Automatic (2 in 1 Model) – Heavy Duty Automatic Flash Stamp Making Machine – 2 in 1 Model The Automatic Flash Stamp Making... View product → |
Frequently asked questions
Which flash stamp machine configuration fits my orders and workspace?
Choose a 1-tube machine for low-volume, varied orders and limited space; choose 2 tubes when batch exposure time limits output.
What steps occur between artwork preparation and a finished stamp?
The workflow includes film preparation, masking, exposure, cooling, cutting, handle fitting, and ink charging before delivery.
Which exposure and electrical specifications determine usable capacity?
Compare tube count, lamp exposure time, working area, duty cycle, cooling requirements, power rating, voltage, and current draw.
How can I verify stamp quality, safety, and repeatability before buying?
Run repeated samples using fine text and solid areas, inspect edges and ink flow, and test guards, switches, ventilation, and consistent exposure.
What is the real cost of owning a flash stamp machine?
Add purchase price, electricity, tubes, replacement parts, consumables, maintenance, operator time, rejects, and space to the ownership calculation.
Related products
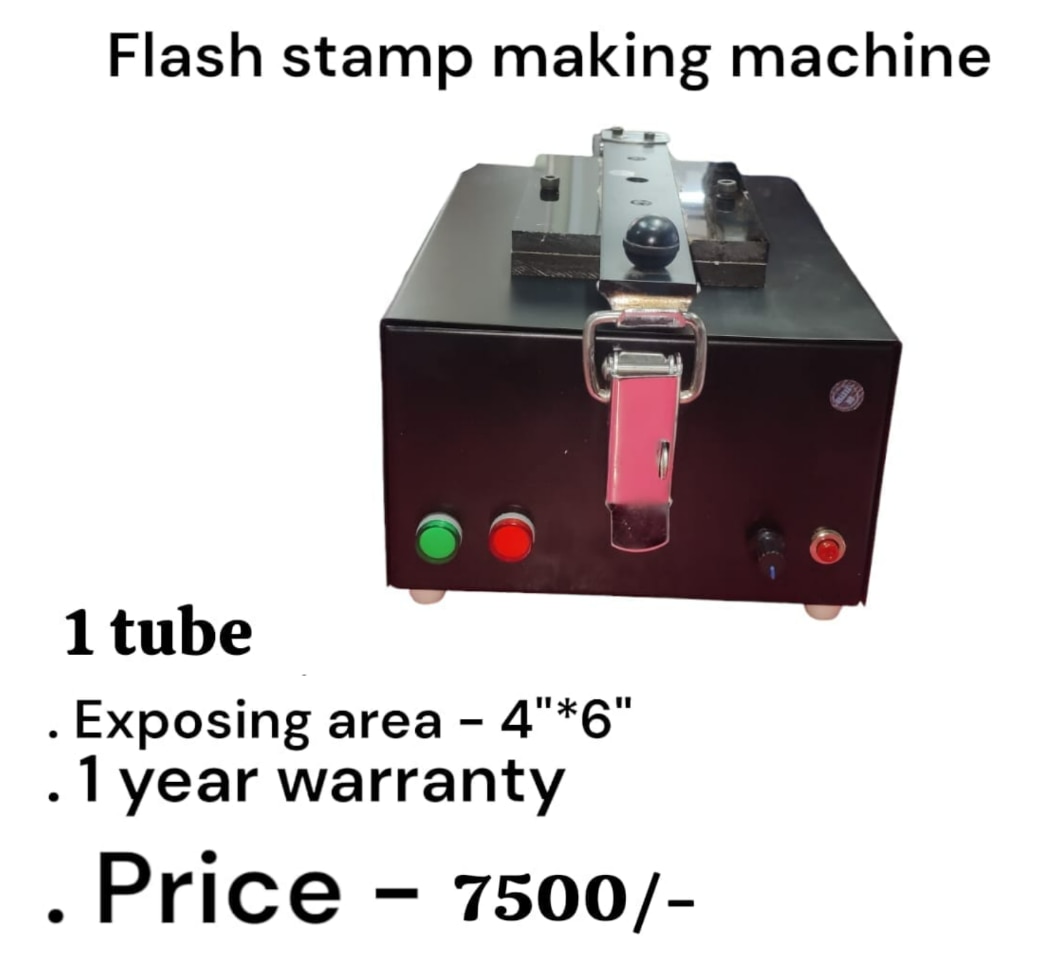 | Flash Stamp Making Machine Flash Stamp Making Machine 1 Tube Model ₹7500 Flash Stamp Making Machine (1 Tube) – Product Description Flash Stamp Making Machine – 1 Tube Model The 1 Tube Flash Stamp Making Machine is an... View product → |
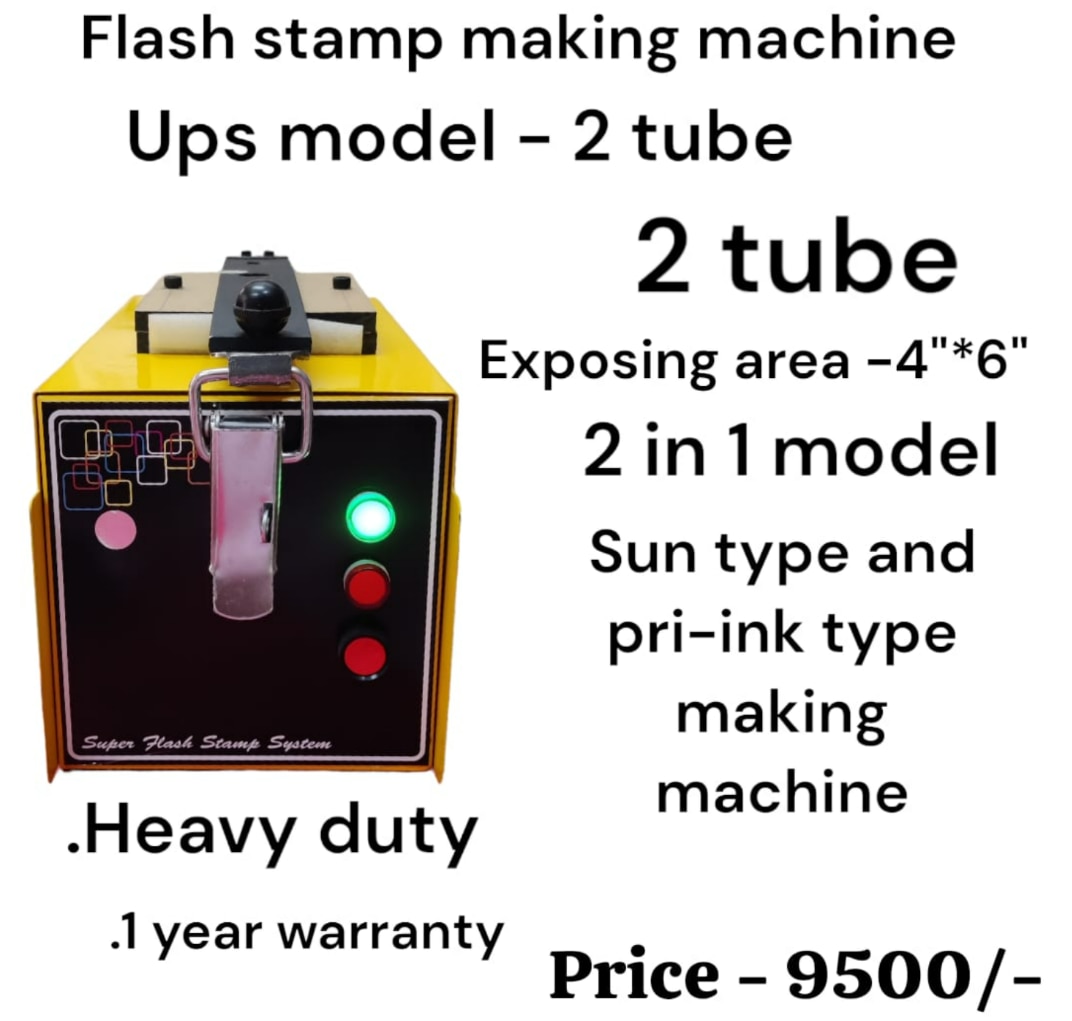 | Flash Stamp Making Machine Flash Stamp Making Machine (UPS Model – 2 Tube) ₹9500 Flash Stamp Making Machine (UPS Model – 2 Tube) Specification Details Product Name Flash Stamp Making Machine Model UPS Model – 2 Tube Type 2-in-1... View product → |
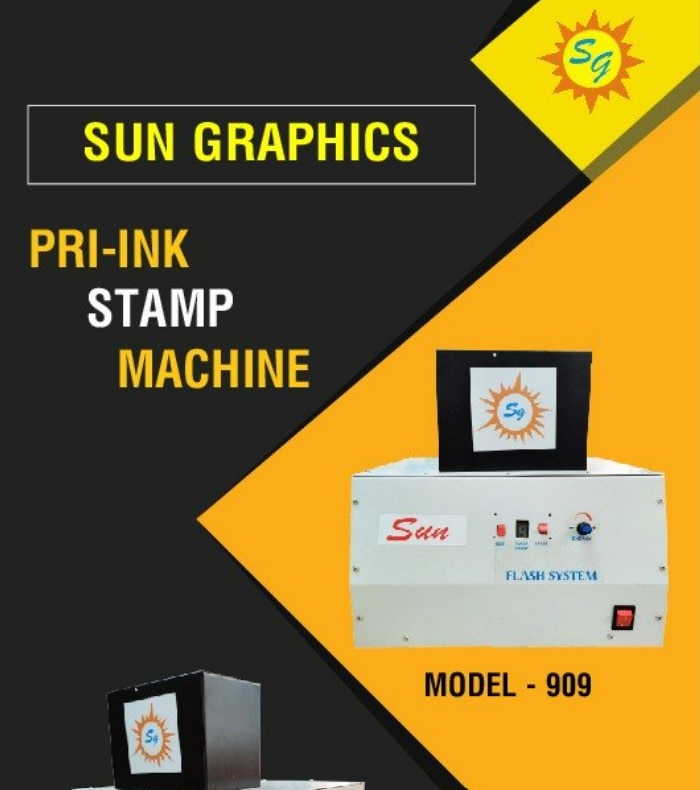 | Pre Ink Stamp Machine ₹13500 Sun Graphics is a supplier and dealer of Pre Ink Stamp Machines and flash stamp making systems in Delhi. View product → |
 | Rubber Stamp Making Machin ₹7800 inimum Order Quantity: 1 Piece Product Brochure Machine Type Rubber Stamping Machine Automation Grade Semi-Automatic Usage/Application STAMP MAKING... View product → |